An RV toilet that keeps filling with water is a common problem. It can be frustrating and lead to water wastage.
RV toilets are designed to be efficient and easy to use. But sometimes, things go wrong. When an RV toilet continues to fill with water, it can be due to several issues. Understanding these issues is key to finding a solution.
In this blog, we will explore why this happens and what you can do to fix it. Whether you are on the road or parked, dealing with a malfunctioning toilet can be a hassle. Let’s dive into the reasons behind this problem and how you can address it quickly.
Common Causes
Is your RV toilet continually filling with water? This issue can be quite frustrating, especially when you are on the road. Understanding the common causes can help you troubleshoot and fix the problem. Below, we will explore some of the most common reasons for this issue.
Stuck Valve
A stuck valve is a frequent culprit. When the valve gets stuck, it does not close properly. This allows water to keep flowing into the bowl.
Reasons for a stuck valve include:
- Debris buildup
- Mineral deposits
- General wear and tear
Regular cleaning can help prevent debris and mineral deposits. If cleaning does not solve the problem, the valve may need replacement.
Faulty Seal
A faulty seal can also cause the toilet to keep filling. The seal prevents water from continuously flowing into the bowl.
Possible issues with the seal:
- Cracks or tears
- Loose fittings
- Worn-out material
Inspect the seal regularly for any signs of damage. If you notice any issues, replace the seal to prevent further problems.
By understanding these common causes, you can take steps to fix your RV toilet and enjoy your travels without interruptions.
Identifying The Problem
When your RV toilet continues to fill with water, it can be a nuisance. Understanding the problem is the first step to fixing it. By identifying the issue early, you can prevent potential water damage. There are a few key steps to pinpoint the cause.
Visual Inspection
Begin with a visual inspection. Check the water valve and hose connections. Look for any visible cracks or wear. The toilet bowl should not have excess water. If you see water, note where it is coming from.
Listening For Leaks
Next, listen for leaks. Turn off any other noises in the RV. Pay close attention to the area around the toilet. A hissing or dripping sound can indicate a leak. Check the water valve and hose connections for any sounds.
Tools Needed
Fixing an RV toilet that continuously fills with water can be a daunting task. But having the right tools makes the process much easier. Here’s a list of essential tools you’ll need to get the job done efficiently.
Basic Toolkit
A basic toolkit is your first line of defense. It should include a screwdriver set, adjustable wrench, and pliers. These tools will help you access different parts of the toilet. A flashlight is also useful for seeing those hard-to-reach areas. Don’t forget a pair of gloves to keep your hands clean.
Plumbing Supplies
Plumbing supplies are crucial for fixing any water-related issues. Teflon tape will help seal any leaks. A pipe wrench is also needed for tightening or loosening connections. A bucket will catch any water that spills during the repair. A small brush can clean out any debris. If you suspect a faulty valve, having a replacement valve on hand is wise.

Credit: www.happycampers.store
Fixing A Stuck Valve
Is your RV toilet filling with water non-stop? The problem might be a stuck valve. This issue can be frustrating, but fixing it is usually simple. Follow these steps to remove, clean, and reinstall the valve. Your RV toilet will work properly again.
Removing The Valve
First, turn off the water supply to your RV. This step prevents any leaks. Next, locate the valve on your RV toilet. It is usually found near the base. Unscrew the valve carefully using a wrench. Keep a towel nearby to catch any water drips.
Cleaning And Reinstalling
Once you remove the valve, check for dirt or debris. Use a soft brush and clean the valve thoroughly. Pay attention to any small parts. Rinse the valve with clean water and make sure it is completely dry. Reinstall the valve by screwing it back into place. Make sure it is tight, but do not overtighten.
Turn the water supply back on and test your RV toilet. It should stop filling with water continuously. If not, you might need to replace the valve. Following these steps should fix the issue most of the time.
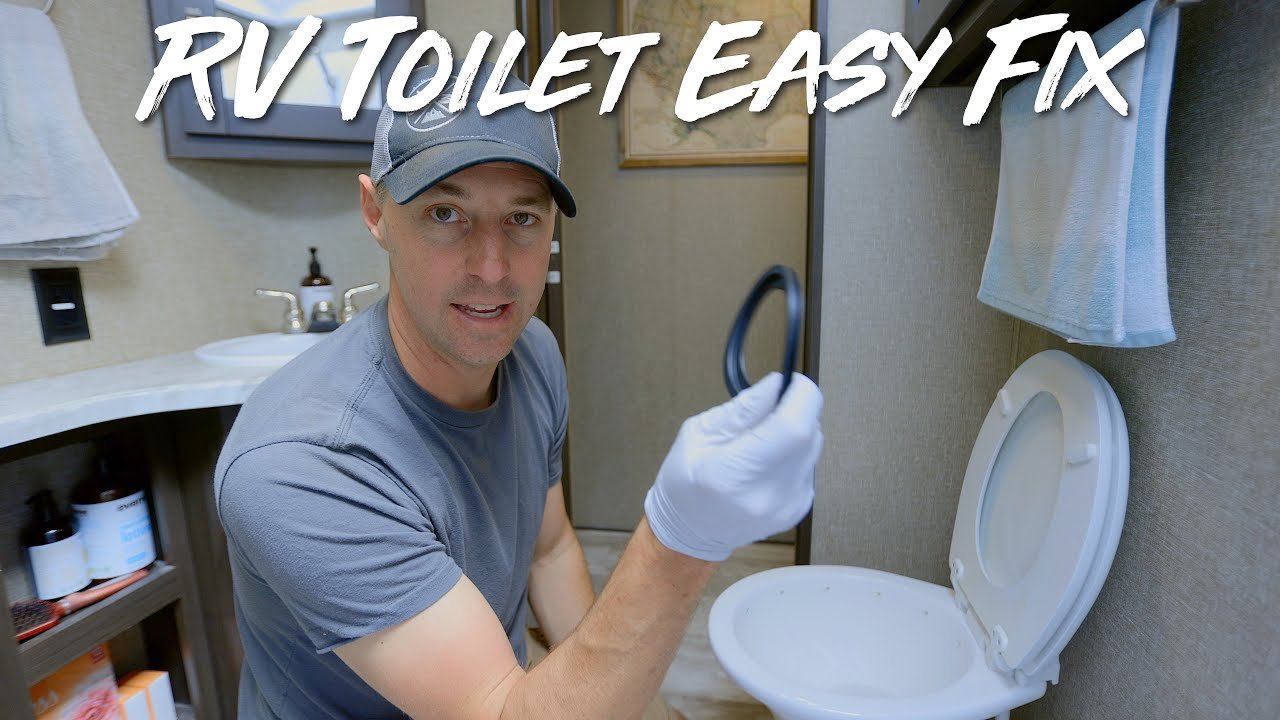
Replacing A Faulty Seal
A constantly filling RV toilet can be frustrating. One common cause is a faulty seal. Replacing the seal can solve the issue and restore proper function. In this section, we’ll explore the types of seals and provide step-by-step installation instructions.
Seal Types
RV toilets use different seal types. The two most common are rubber and foam seals. Rubber seals are durable. They offer a tight fit. Foam seals are softer. They are easier to install but may wear out faster. Choose a seal that matches your toilet model for the best results.
Installation Steps
Replacing the faulty seal requires a few tools. You will need a wrench, screwdriver, and a new seal. First, turn off the water supply. Flush the toilet to empty the bowl. Then, use a wrench to disconnect the water line.
Next, unscrew the toilet from the floor. Carefully lift and remove the toilet. Remove the old seal. Clean the area to ensure a good fit for the new seal. Position the new seal in place. Make sure it fits snugly.
Reattach the toilet to the floor. Tighten the screws firmly. Reconnect the water line. Turn the water supply back on. Check for leaks by flushing the toilet a few times. If there are no leaks, you have successfully replaced the seal.
These steps will help you fix your RV toilet. A new seal prevents constant filling and ensures smooth operation.
Preventive Maintenance
Preventive maintenance is key to ensuring your RV toilet functions efficiently. Regular upkeep helps avoid issues like the toilet continuously filling with water. This section will guide you through essential preventive measures.
Regular Cleaning
Regular cleaning is vital. It keeps your RV toilet in good working condition. Use gentle, non-abrasive cleaners to avoid damaging components. Focus on both the bowl and the tank. Here’s a simple routine:
- Clean the bowl with a soft brush.
- Use a mild cleaner for the tank.
- Wipe down all surfaces regularly.
Never use harsh chemicals. They can damage seals and gaskets, leading to leaks.
Routine Inspections
Routine inspections help identify issues early. Check all parts of the toilet system monthly. Pay special attention to:
| Component | What to Check |
|---|---|
| Water Valve | Look for leaks or corrosion. |
| Seals and Gaskets | Ensure they are intact and not worn out. |
| Flapper Valve | Check for proper sealing and operation. |
If any part shows wear, replace it immediately. This prevents small issues from becoming major problems.
When To Seek Professional Help
Sometimes, an RV toilet that continues to fill with water needs more than a simple fix. In these situations, seeking professional help becomes necessary. Knowing when to call in the experts can save you time, effort, and potential damage.
Complex Repairs
Some RV toilet issues go beyond basic troubleshooting. If the problem involves intricate parts or specialized tools, it’s best to call a professional. They have the knowledge and equipment to handle complex repairs safely.
Attempting these repairs on your own can lead to further complications. Professionals can quickly diagnose and fix issues without causing additional damage. Their expertise ensures a long-lasting solution.
Persistent Issues
Repeated problems with your RV toilet can be frustrating. If you’ve tried fixing the issue multiple times without success, it might be time to seek help. Persistent issues often indicate an underlying problem that requires expert attention.
Professionals can identify hidden causes that may not be obvious. They can provide a thorough inspection and accurate diagnosis, ensuring the problem is resolved once and for all. This can prevent future headaches and keep your RV in top condition.
Credit: www.happycampers.store
Additional Tips
Experiencing a constantly filling RV toilet can be frustrating. Addressing this issue can save water and prevent messes. Here are some additional tips to help you manage this problem effectively.
Using Quality Parts
Always use high-quality parts for your RV toilet. Low-quality parts wear out faster. This can cause leaks and continuous water flow. Invest in reliable components. They last longer and ensure smoother operation.
Proper Toilet Usage
Using your RV toilet correctly is crucial. Don’t flush large items. These can clog the system. Teach all users the right way to use the toilet. This helps maintain its efficiency. Always check for leaks or unusual sounds. Early detection can prevent bigger issues.

Credit: www.mortonsonthemove.com
Frequently Asked Questions
Why Does My Rv Toilet Keep Filling With Water?
Your RV toilet might have a faulty water valve or seal. Check for leaks and replace any damaged parts.
How Do I Fix An Overfilling Rv Toilet?
To fix an overfilling RV toilet, inspect the valve and seals. Replace any defective components to stop the issue.
Can A Clogged Rv Toilet Cause Water Overflow?
Yes, a clogged RV toilet can cause water overflow. Clear the clog to prevent further issues with water filling.
What Tools Do I Need To Fix My Rv Toilet?
You will need basic tools like a wrench, screwdriver, and replacement parts. Follow the manufacturer’s instructions for repairs.
Conclusion
Fixing an RV toilet that keeps filling with water is essential. Address the issue promptly to avoid water damage. Regular maintenance can prevent this problem. Check for stuck valves or faulty seals. A simple repair can save time and money.
Enjoy your RV trips without toilet troubles. Happy travels!


