Your RV tank monitor panel is essential for tracking your tank levels. But what do you do when it stops working?
This common issue can be frustrating and confusing for many RV owners. Understanding the reasons behind a malfunctioning RV tank monitor panel is crucial. It could be a simple problem like a loose wire or something more complex like a faulty sensor.
In this blog post, we will explore the potential causes and solutions for a non-working RV tank monitor panel. By the end, you will have a better idea of how to diagnose and possibly fix the issue yourself. Stay tuned to get your RV tank monitor back in working order, ensuring a smooth and stress-free journey.

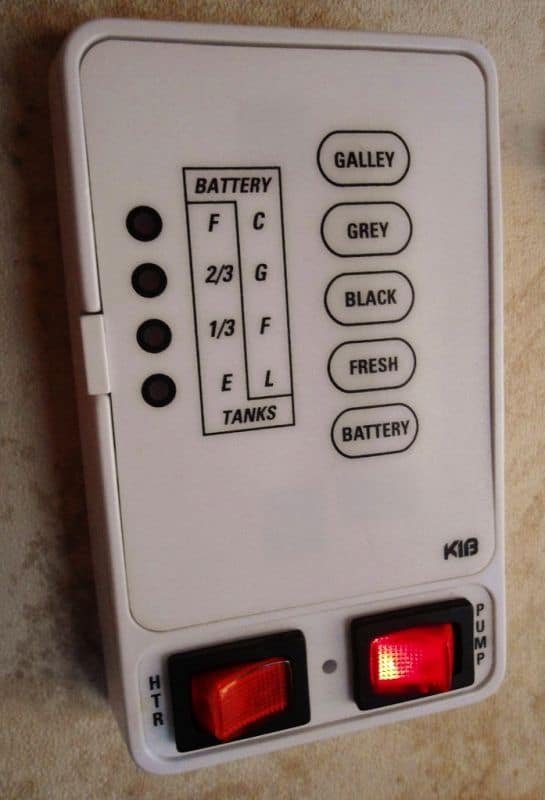
Credit: recpro.com
Common Issues
RV tank monitor panels are essential for keeping track of tank levels. But sometimes, these panels stop working. Understanding common issues can help you fix the problem quickly.
No Power
If your RV tank monitor panel has no power, check the power source. Ensure the panel is plugged in properly. A blown fuse could also be the issue. Inspect the fuse and replace it if necessary. Sometimes, a tripped circuit breaker can cut power. Reset the breaker to see if power is restored.
Faulty Sensors
Faulty sensors can cause incorrect readings on the panel. Tank sensors can get dirty or clogged. Clean the sensors to see if that fixes the issue. Sometimes, sensors wear out and need replacing. Check the sensor connections for any loose or corroded wires. Secure or replace the wires as needed.
Initial Checks
Dealing with an RV tank monitor panel that isn’t working can be frustrating. Often, the issue might be something simple. Before calling a professional, perform some initial checks. These checks can sometimes resolve the problem quickly and save you money.
Check Battery
The RV tank monitor panel needs power to function. Start by checking the battery. Ensure it is charged and connected properly. A weak or dead battery can cause the panel to malfunction.
Inspect Fuses
Another common issue is blown fuses. Inspect the fuses related to the monitor panel. Replace any that are blown. This simple step can often fix the problem.
Testing The Panel
Testing the RV tank monitor panel is essential if it stops working. This process involves several steps to identify the issue. You can perform a power supply test, and a circuit board examination to diagnose the problem.
Power Supply Test
First, check the power supply to the panel. Ensure the RV battery is charged. Sometimes, a low battery can cause the panel to malfunction. Use a multimeter to measure the voltage. The reading should be around 12 volts. If it’s lower, recharge or replace the battery. Next, inspect the wiring connections. Loose or corroded wires can disrupt power flow. Tighten any loose connections and clean any corrosion. Also, check the fuse linked to the panel. A blown fuse can stop the panel from working. Replace the fuse if necessary.
Circuit Board Examination
If the power supply is fine, move to the circuit board. Remove the panel cover to access the board. Look for any visible damage or burnt components. Such issues can cause the panel to fail. Use a magnifying glass for a closer inspection. Check for any loose solder joints. These can break the circuit and stop the panel. Resolder any loose connections. If you find burnt components, consider replacing the board. It might be beyond repair. Also, ensure the connectors on the board are secure. Loose connectors can interrupt signals.
Sensor Problems
An RV tank monitor panel not working can be very frustrating. The culprit is often the sensors. These sensors detect the tank levels and send the data to the monitor panel. If the sensors are dirty or faulty, they can give incorrect readings or stop working altogether. Let’s explore some common sensor problems and solutions.
Sensor Cleaning
Dirty sensors are a common issue for RV tank monitor panels. Grease, grime, and debris can build up on the sensors over time. This buildup can cause incorrect readings. Regular cleaning is essential to maintain sensor accuracy.
Here’s a simple method to clean your sensors:
- Drain the tank completely.
- Fill the tank with a mixture of water and a sensor cleaning solution.
- Let the solution sit for a few hours to break down the buildup.
- Drain the tank again and rinse thoroughly with clean water.
Repeat this process if necessary. A clean sensor will provide more accurate readings, ensuring your RV tank monitor panel works correctly.
Sensor Replacement
Sometimes, cleaning is not enough. If your sensors are still not working, it might be time for a sensor replacement. Sensors can wear out over time and need replacing to ensure accurate readings.
To replace your sensors, follow these steps:
- Turn off the power to the tank monitor panel.
- Locate the sensors on your tank. They are usually on the side or bottom.
- Remove the old sensors carefully.
- Install the new sensors in the same position as the old ones.
- Reconnect any wires and secure the sensors in place.
- Turn the power back on and test the new sensors.
Replacing old sensors can restore the functionality of your RV tank monitor panel. Always ensure you use compatible sensors for your specific RV model.
Keeping your sensors clean and replacing them when needed will keep your RV tank monitor panel functioning correctly. Regular maintenance is key to avoiding sensor problems.
Wiring Troubles
RV tank monitor panels can often fail due to wiring issues. Wiring troubles can disrupt the functionality of your monitor panel. Fixing these problems requires a careful approach. Here, we will discuss wire inspection and connection fixes.
Wire Inspection
First, check the wires for any visible damage. Look for frayed or broken wires. Worn-out wires can cause the monitor to malfunction. Ensure all wires are intact. If you find any damage, replace the wires immediately.
Also, inspect the insulation. Good insulation protects wires from external damage. If the insulation is worn out, it can cause short circuits. This can lead to the monitor panel not working. Replace any damaged insulation to ensure safety.
Connection Fixes
Loose connections can also disrupt the monitor panel’s function. Tighten any loose connections. Ensure all wires are securely connected. A firm connection ensures proper signal transmission.
Corrosion can affect connections as well. Check for any signs of rust. Clean the connectors with a wire brush. Apply a corrosion inhibitor to prevent future issues. Proper maintenance can keep your connections in good condition.
Ensure all connectors are in the right place. Crossed wires can cause malfunctions. Double-check the wiring diagram for correct placement. Follow the diagram closely to avoid errors.
Calibration Issues
Calibration issues with your RV tank monitor panel can be frustrating. These problems often lead to incorrect readings, leaving you unsure of your tank levels. Understanding the calibration process and common errors can help you fix these issues effectively.
Recalibration Steps
First, ensure your RV is level. An uneven surface can affect readings. Next, fill your tank to a known level. This helps in setting a baseline. Access your monitor panel settings. Look for a calibration or reset option. Follow the on-screen prompts to recalibrate. Save the settings once done. Check the readings again to ensure accuracy.
Error Code Solutions
Sometimes, error codes appear during calibration. These codes indicate specific issues. Refer to your RV manual for code meanings. Common codes include sensor errors or connection problems. For sensor errors, clean the sensors. This can remove debris affecting readings. For connection problems, check the wiring. Ensure all connections are secure. Reset the monitor panel after fixing issues. This can clear the error codes.
Advanced Troubleshooting
When your RV tank monitor panel stops working, basic troubleshooting may not suffice. Advanced techniques are necessary to pinpoint the issue. These methods require more knowledge but can save time and money. Let’s delve into two key areas: using a multimeter and seeking professional help.
Multimeter Usage
A multimeter is a tool that measures electrical properties. It can diagnose many issues with your RV tank monitor panel.
Follow these steps to use a multimeter:
- Turn off the power to the RV tank monitor panel.
- Set the multimeter to the appropriate setting (usually “DC Voltage”).
- Connect the multimeter probes to the panel’s terminals.
- Turn the power back on and read the voltage.
If the voltage is too low, you may have a power issue. If the voltage is fine, the problem might be with the panel itself.
Additionally, you can check for continuity. Set the multimeter to the “continuity” setting. Touch the probes to the wires and check the reading. If there is no continuity, the wire might be broken.
Professional Help
Sometimes, even advanced troubleshooting won’t solve the problem. In these cases, seeking professional help is the best option.
Consider the following steps when hiring a professional:
- Research local RV repair shops.
- Read reviews and ask for recommendations.
- Get a quote and compare prices.
A professional can quickly diagnose and fix the issue. They have the experience and tools needed for complex problems.
Remember, always prioritize safety. If you’re unsure, it’s better to call a professional. Your RV tank monitor panel is essential for safe travels. Proper maintenance and timely repairs ensure it works correctly.
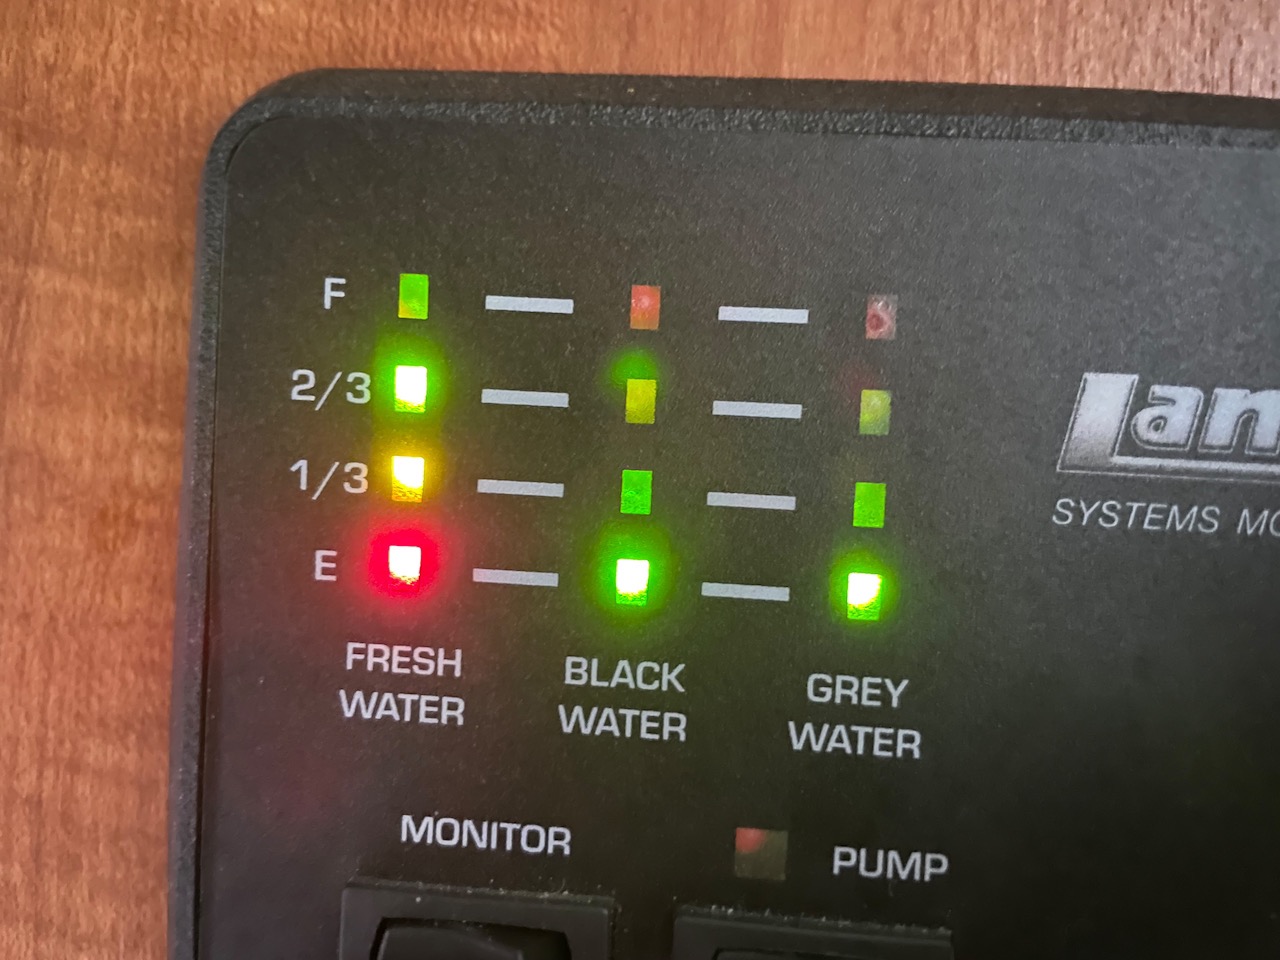
Credit: www.happycampers.store
Preventive Maintenance
Regular maintenance is key to keeping your RV tank monitor panel in working condition. By performing preventive maintenance, you can avoid unexpected issues and prolong the lifespan of your equipment. This section will cover the importance of routine checks and proper storage for your RV tank monitor panel.
Routine Checks
Conducting routine checks helps identify potential problems before they become serious. Inspect your RV tank monitor panel at least once a month. Look for any signs of damage or wear.
Here is a simple checklist for your routine inspection:
- Check for loose or corroded connections
- Ensure all buttons and lights work properly
- Examine the wiring for any frays or breaks
- Test the panel by filling and emptying your tanks
By following this checklist, you can maintain the functionality of your RV tank monitor panel.
Proper Storage
Proper storage is crucial when your RV is not in use. Store your RV in a dry, cool place to prevent moisture damage. Moisture can lead to rust and electrical issues.
Consider these tips for proper storage:
- Disconnect the battery to prevent power drainage
- Cover the RV to protect it from the elements
- Keep the interior clean and dry
- Check the monitor panel periodically, even during storage
Proper storage practices can significantly reduce the risk of damage to your RV tank monitor panel.

Credit: www.ubuy.com.pr
Frequently Asked Questions
Why Is My Rv Tank Monitor Panel Not Working?
Your RV tank monitor panel might not be working due to faulty wiring, a blown fuse, or sensor issues. Check connections and fuses first.
How Do I Reset My Rv Tank Monitor?
To reset your RV tank monitor, locate the reset button or switch. Press and hold it for a few seconds.
Can I Fix The Rv Tank Monitor Myself?
Yes, you can fix it yourself. Check for loose wires, replace blown fuses, and clean sensors. Consult your manual.
What Tools Do I Need To Fix Rv Tank Monitor?
You’ll need a multimeter, screwdriver, and possibly a replacement fuse or sensor. Follow your RV’s manual instructions.
Conclusion
Fixing an RV tank monitor panel can be challenging. Start with basic checks. Ensure all connections are secure. Replace faulty parts if needed. Regular maintenance can prevent future issues. Don’t let a malfunctioning panel ruin your trip. Stay proactive and keep your system in top shape.
Your RV adventures should be worry-free and enjoyable. Happy travels!


