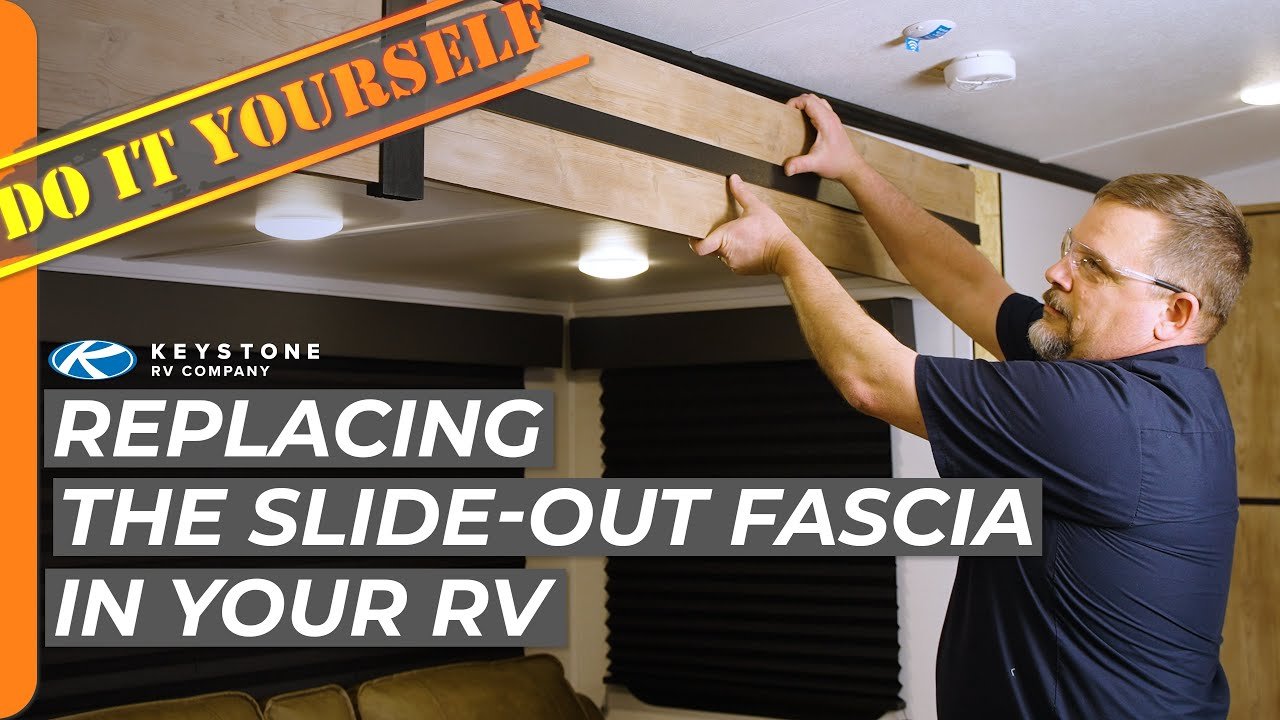
Removing the interior trim on an RV slide out is straightforward. You need a few tools and some patience.
This guide will help you. Owning an RV means dealing with some maintenance tasks. One common task is removing the interior trim on your slide out. This is often necessary for repairs or updates. Knowing how to do this can save you money.
You won’t need to hire a professional. Plus, you’ll have the satisfaction of doing it yourself. In this post, we’ll walk you through the steps. You’ll learn how to safely and efficiently remove the trim. By the end, you’ll feel confident tackling this project on your own. Let’s get started!
Tools And Materials Needed
Removing the interior trim on an RV slide-out might seem daunting. But with the right tools and materials, the task becomes manageable. Preparing beforehand ensures the job goes smoothly.
Essential Tools
Several basic tools are necessary for this task. A screwdriver set is the most important. Both flathead and Phillips screwdrivers are useful. You will also need a utility knife. This helps cut through any caulk or sealant.
A pry bar is another essential tool. It helps to gently remove the trim without causing damage. A rubber mallet is useful too. It aids in loosening the trim without scratching it. Pliers can also be handy for pulling out stubborn nails or staples.
Recommended Materials
Gather some common materials before you start. Painter’s tape is useful. It protects areas you don’t want to damage. You will also need some plastic sheeting. This keeps your RV interior clean during the process.
Consider having some wood filler on hand. This helps to fill any holes or gaps left behind. Sandpaper is also essential. It smooths out any rough areas after the trim removal. Finally, keep a vacuum nearby. It helps to clean up debris as you work.
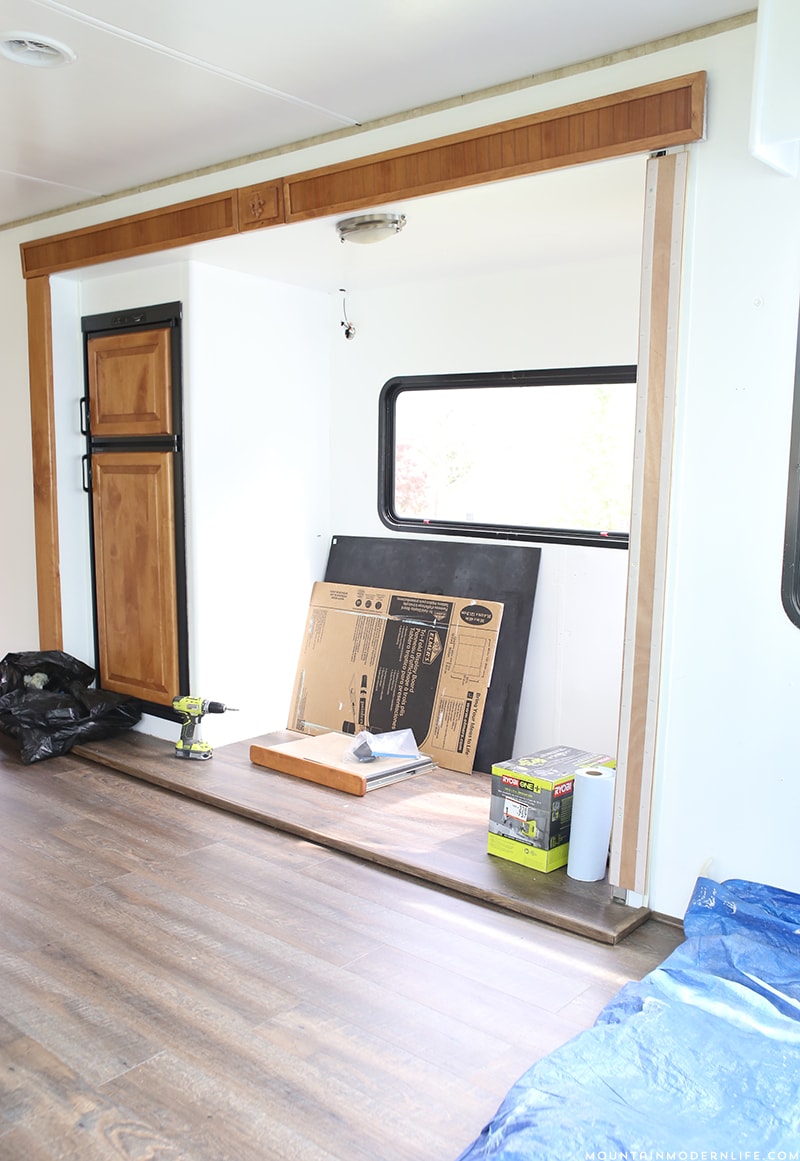
Credit: mountainmodernlife.com
Safety Precautions
Removing the interior trim on an RV slide out can be tricky. It’s important to take safety precautions to avoid injuries and damage. Following the right steps ensures a smooth and safe process.
Protective Gear
Wearing the right protective gear is essential. Safety glasses protect your eyes from debris. Gloves keep your hands safe from sharp edges and splinters. Ear protection is necessary if you’re using loud tools. Always wear sturdy shoes to protect your feet.
| Gear | Purpose |
|---|---|
| Safety Glasses | Protects eyes from debris |
| Gloves | Prevents cuts and splinters |
| Ear Protection | Shields ears from loud noises |
| Sturdy Shoes | Protects feet from falling objects |
Safe Work Environment
Setting up a safe work environment is crucial. Ensure the RV is on a flat surface. Stabilize the RV using blocks or jacks. This prevents any movement while working. Clear the area of any obstacles. This includes tools, cords, and other objects that might cause tripping.
- Ensure the RV is on a flat surface.
- Stabilize the RV using blocks or jacks.
- Clear the area of obstacles.
Keep a first-aid kit nearby. Accidents can happen, and it’s good to be prepared. Have a phone within reach in case you need to call for help. Also, make sure you have adequate lighting. Good lighting helps you see what you are doing and prevents mistakes.
- Keep a first-aid kit nearby.
- Have a phone within reach.
- Ensure adequate lighting.
By following these safety precautions, you can remove the interior trim on your RV slide out safely and efficiently.
Preparing The Rv
Before you start removing the interior trim on your RV slide out, it is vital to prepare the RV properly. This step ensures safety and efficiency throughout the process. Follow these guidelines to get your RV ready for the task.
Park And Secure
First, find a level spot to park your RV. This helps in maintaining balance and stability. Once parked, engage the parking brake. Use wheel chocks to prevent any movement. Ensuring your RV is stable is crucial for your safety.
| Step | Action |
|---|---|
| 1 | Find a level parking spot. |
| 2 | Engage the parking brake. |
| 3 | Use wheel chocks to secure the RV. |
Disconnect Power
Next, disconnect the power supply to the RV. This is an important safety measure. Start by turning off the main power switch. Unplug any external power sources. This includes shore power connections.
- Turn off the main power switch.
- Unplug external power sources.
- Ensure no electrical devices are running.
By following these steps, you prepare your RV for the trim removal process. Safety comes first. Proper preparation helps avoid accidents and ensures a smooth workflow.
Removing Furniture And Fixtures
Removing the interior trim on an RV slide-out involves several steps. One of the first steps is to remove furniture and fixtures. This process ensures you have clear access to the trim. It also prevents damage to your furniture. Follow these steps for a smooth process.
Clearing The Slide Out
First, clear everything out of the slide-out area. This includes chairs, tables, and any other movable items. Ensure the slide-out is empty. This makes it easier to work on the trim. It also helps you avoid tripping over items.
Storing Furniture Safely
Once you have cleared the slide-out, store your furniture safely. Use a garage or a storage room. Keep items covered to protect them from dust. Avoid stacking heavy items on top of each other. This can cause damage. Label items if needed. This makes it easier to put them back later.
Detaching The Trim
Removing the interior trim on an RV slide-out can seem daunting. But with the right tools and steps, it becomes manageable. Let’s dive into the process of detaching the trim.
Identifying Trim Sections
First, identify the different sections of the trim. These sections may include vertical and horizontal pieces. Look for seams or joints where the trim pieces meet. Note any nails or screws holding the trim in place.
| Trim Section | Location |
|---|---|
| Vertical Trim | Sides of the slide-out |
| Horizontal Trim | Top and bottom of the slide-out |
Using Pry Tools
Using pry tools is essential for detaching the trim without damage. Here are the steps:
- Insert the pry tool between the trim and the wall.
- Gently apply pressure to lift the trim away from the wall.
- Work along the length of the trim to loosen it.
- Remove any nails or screws as you go.
For stubborn sections, use a flathead screwdriver or a putty knife. This helps in prying the trim without causing dents or scratches.
- Be patient and work slowly.
- Use a cloth to protect the wall if needed.
- Keep your tools clean and in good condition.
Remember, detaching the trim is just the first step. Proper handling of the trim ensures it can be reused if needed. Stay organized and keep track of all removed pieces.
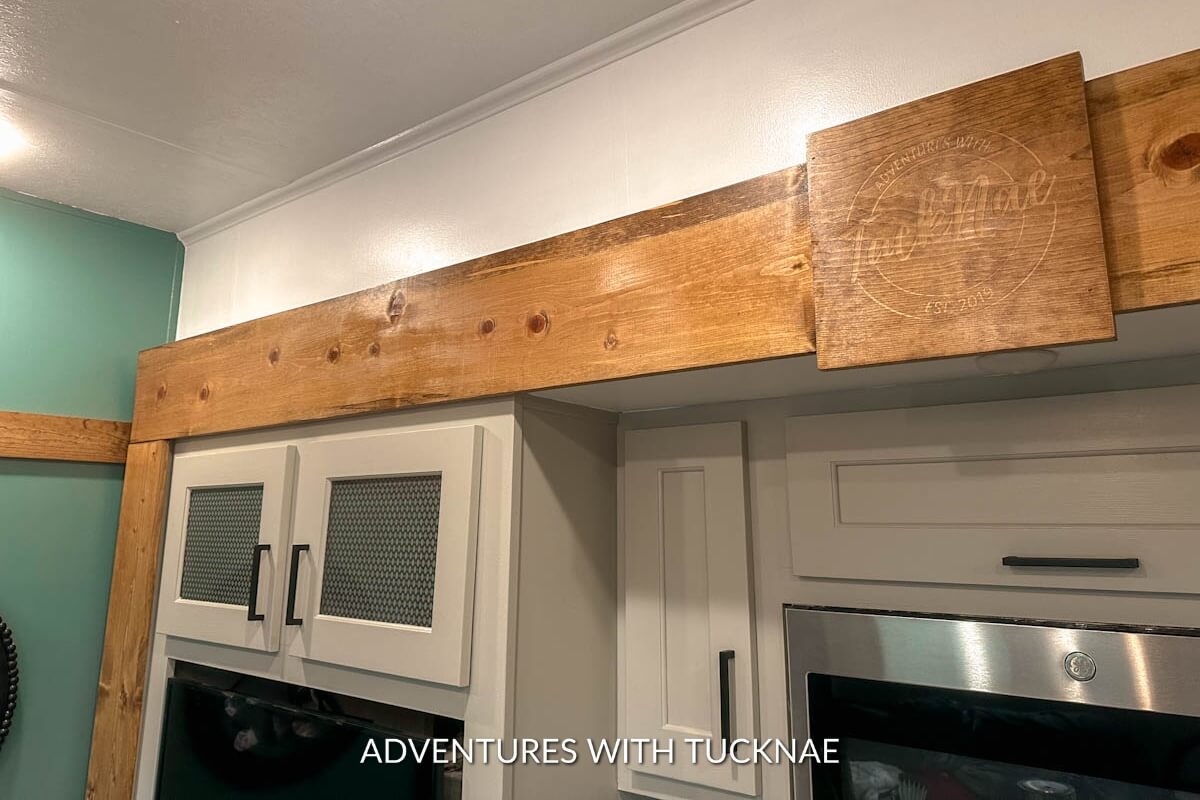
Credit: adventureswithtucknae.com
Handling Trim With Care
Removing the interior trim on an RV slide-out requires careful handling. The trim can be delicate, and improper removal can cause damage. To avoid unnecessary repairs, it’s important to proceed with caution and attention to detail.
Avoiding Damage
To prevent damage to the trim, use the right tools. A trim removal tool or a flathead screwdriver can help. Insert the tool gently under the trim and apply slow, steady pressure. Avoid using excessive force, which can break the trim or damage the RV’s interior walls.
Keep a soft cloth nearby to protect the surfaces. Wrap the cloth around the tool to cushion the contact point. This step reduces the risk of scratches or dents.
Labeling Trim Pieces
Label each trim piece as you remove it. This ensures easy reinstallation later. Use painter’s tape and a marker to label each piece with its location.
- Front Left
- Front Right
- Rear Left
- Rear Right
Organize the labeled pieces in a safe place. A large ziplock bag or a small box works well. This keeps the trim pieces clean and prevents them from getting lost.
| Tool | Purpose |
|---|---|
| Trim Removal Tool | Gently pries off trim |
| Flathead Screwdriver | Alternative for trim removal |
| Painter’s Tape | Labels trim pieces |
| Marker | Writes labels |
| Soft Cloth | Protects surfaces |
By following these steps, you can handle the trim with care. This ensures that the trim remains intact and ready for reinstallation.
Inspecting For Hidden Fasteners
When removing the interior trim on your RV slide out, it is crucial to inspect for hidden fasteners. These fasteners may include screws, nails, or other types of connectors that hold the trim in place. Proper inspection ensures a smoother removal process and prevents damage to your RV’s interior. Below, we will guide you through the steps to find and remove these hidden fasteners effectively.
Finding Screws And Nails
First, start by examining the entire length of the trim. Look closely at the corners and edges, where fasteners are often concealed. Use a flashlight to get a better view of any shadowy areas.
Sometimes, screws and nails are hidden under decorative caps. Use a flathead screwdriver to gently pry off these caps. This will expose the screws or nails underneath.
Next, run your hand along the trim to feel for any bumps or irregularities. These could indicate the presence of fasteners. Mark these spots with a pencil to keep track of them.
Removing Fasteners
Once you have located all the fasteners, it is time to remove them. Here is a step-by-step guide:
- Use the appropriate screwdriver to remove the screws. Turn counterclockwise to unscrew.
- If you find nails, use a small pry bar or a claw hammer to pull them out. Be gentle to avoid damaging the trim.
- For screws that are stripped or difficult to remove, use a pair of pliers to grip and turn them.
- Place all removed fasteners in a container. This will help you keep track of them and prevent any from getting lost.
After all the fasteners are removed, gently pull the trim away from the wall. If it resists, double-check for any remaining fasteners you may have missed.
By carefully inspecting and removing hidden fasteners, you ensure that your RV trim remains intact and ready for reinstallation.
Reinstalling The Trim
Reinstalling the trim on your RV slide-out can be a rewarding task. It involves aligning and securing the trim pieces back in place. Properly reinstalling ensures your RV looks neat and well-maintained. Let’s dive into the detailed steps for aligning trim pieces and securing in place.
Aligning Trim Pieces
Start by gathering all the trim pieces you removed earlier. Lay them out in the order they were removed. This helps maintain the original configuration.
- Check each piece for any damage or wear. Replace if necessary.
- Align each trim piece with its corresponding spot on the slide-out.
- Use a level to ensure each piece is straight.
Proper alignment is crucial. It affects the overall appearance of your RV’s interior.
Securing In Place
Once aligned, begin securing the trim pieces. Use the original screws or nails for a perfect fit.
- Start with the corners. Secure them first for stability.
- Move to the middle sections. Ensure each piece is flush against the wall.
- Double-check each piece. Ensure it is firmly in place.
If using nails, a nail gun can speed up the process. For screws, a screwdriver or drill will work best.
Reinstalling the trim can be straightforward. Take your time to ensure everything fits perfectly.
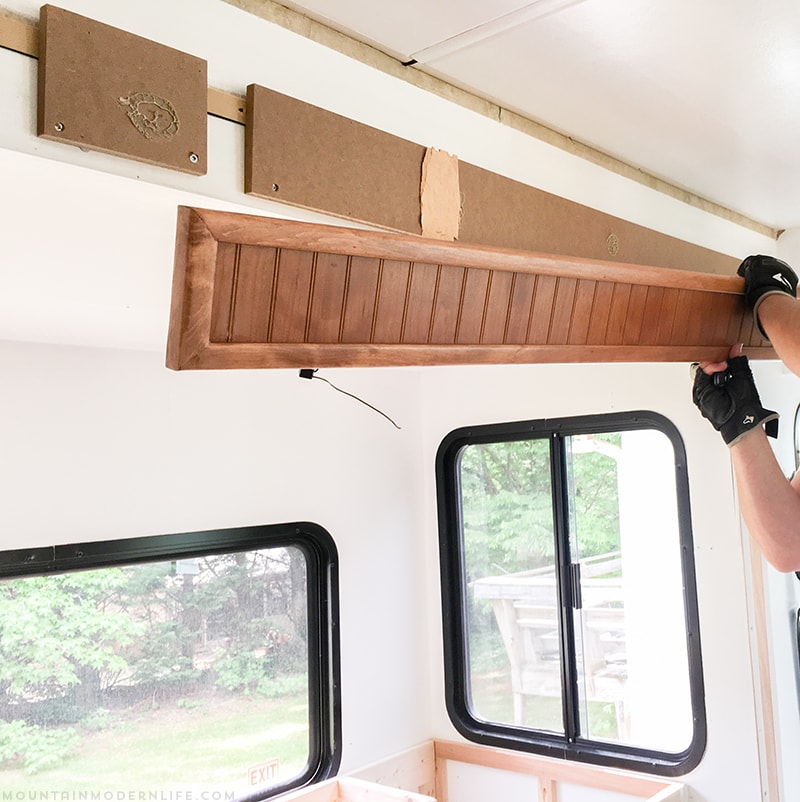
Credit: mountainmodernlife.com
Frequently Asked Questions
How Do I Start Removing Rv Slide Out Trim?
Begin by disconnecting the RV’s power and ensuring the slide-out is fully extended. Carefully remove any screws or fasteners holding the trim in place.
What Tools Are Needed To Remove Rv Trim?
You’ll need a screwdriver, pry bar, and possibly a utility knife. Always have a toolset ready for unexpected requirements.
Is Removing Rv Slide Out Trim Difficult?
It can be challenging but manageable with the right tools and patience. Follow step-by-step instructions to avoid damage.
Can I Reuse The Removed Rv Trim?
Yes, if removed carefully, the trim can often be reused. Inspect it for any damage before reinstallation.
Conclusion
Removing the interior trim on an RV slide out is manageable. Follow each step carefully for a smooth process. Remember to keep tools handy and work patiently. This ensures no damage occurs. With these tips, you can maintain your RV’s interior.
Your efforts will pay off with a refreshed look. Good luck and happy travels!


