RV life offers freedom and adventure. Yet, it comes with its own set of challenges.
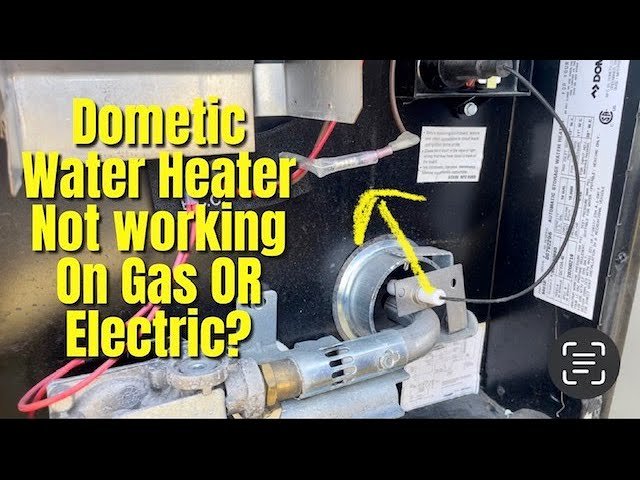
One common issue is when your RV water heater stops working on electric. Imagine arriving at a beautiful campsite, ready for a hot shower, only to find your water heater isn’t working. Frustrating, right? Understanding why this happens can save you time and stress.
There are several reasons why your RV water heater might fail on electric. It could be a simple fix or something more complex. This blog will guide you through common causes and solutions. Let’s dive in and get your water heater working again!
Common Issues
Is your RV water heater not working on electric? You are not alone. Many RV owners face this problem. Knowing the common issues can help you fix the problem quickly. Let’s explore some of these issues.
No Power
A common issue is no power to the water heater. First, check the circuit breaker. It might be tripped. Reset it if needed. Also, inspect the power switch. Make sure it is in the “on” position. Sometimes, a blown fuse can cause this problem. Replace the fuse if it is blown.
Faulty Heating Element
A faulty heating element can cause the water heater to stop working. Test the heating element with a multimeter. If it shows no continuity, replace it. Sometimes, sediment build-up can damage the element. Regular cleaning can prevent this issue. Always turn off the power before checking or replacing the element.
Thermostat Problems
Thermostat problems can also affect your water heater. Check if the thermostat is set correctly. Sometimes, it may need recalibration. A faulty thermostat can cause the water heater to overheat or not heat at all. Replace the thermostat if it is defective. Make sure to use the correct model for your heater.
Credit: roadtrippers.com
Safety First
When working on your RV water heater, always prioritize safety. Electric water heaters can pose risks if not handled properly. Follow these essential safety steps to ensure a secure repair process.
Turn Off Power
The first step is to turn off the power to the water heater. Find the circuit breaker box in your RV. Look for the breaker labeled for the water heater. Switch it to the “off” position. This will prevent any electrical shock while you work. It’s crucial to verify the power is off before proceeding further.
Use Protective Gear
Always wear protective gear when dealing with electrical components. Use rubber gloves to protect your hands from electric shocks. Safety goggles will shield your eyes from any debris. Wear long sleeves to protect your skin. This gear can prevent injuries and ensure a safer working environment.
Check Power Supply
When your RV water heater stops working on electric, the first step is to check the power supply. Ensuring that your water heater is receiving the correct power is crucial. This could be the root of the problem. Let’s break down the steps to inspect the power supply effectively.
Inspect Circuit Breaker
Start by inspecting the circuit breaker. Locate the breaker panel in your RV. Ensure the circuit breaker for the water heater is in the “ON” position. Sometimes, breakers can trip without obvious reasons. If the breaker is in the “OFF” position, switch it back to “ON”. If it trips again immediately, you might have a more serious issue. This could indicate a wiring problem or a faulty component.
Test Outlet Voltage
Next, test the outlet voltage. Use a multimeter to check the voltage at the outlet where the water heater is plugged in. Set the multimeter to the AC voltage setting. Insert the probes into the outlet slots. A typical RV water heater requires 120 volts. If the voltage reading is significantly lower or not present at all, there might be an issue with the power source or outlet. Here’s a simple table to understand the readings:
| Voltage Reading | Condition |
|---|---|
| 120V | Normal |
| 110V – 119V | Low Voltage |
| < 110V | Insufficient Voltage |
| 0V | No Power |
If the voltage reading is not normal, consider checking the power source or contacting a professional for further assistance. Proper voltage ensures your water heater operates efficiently.
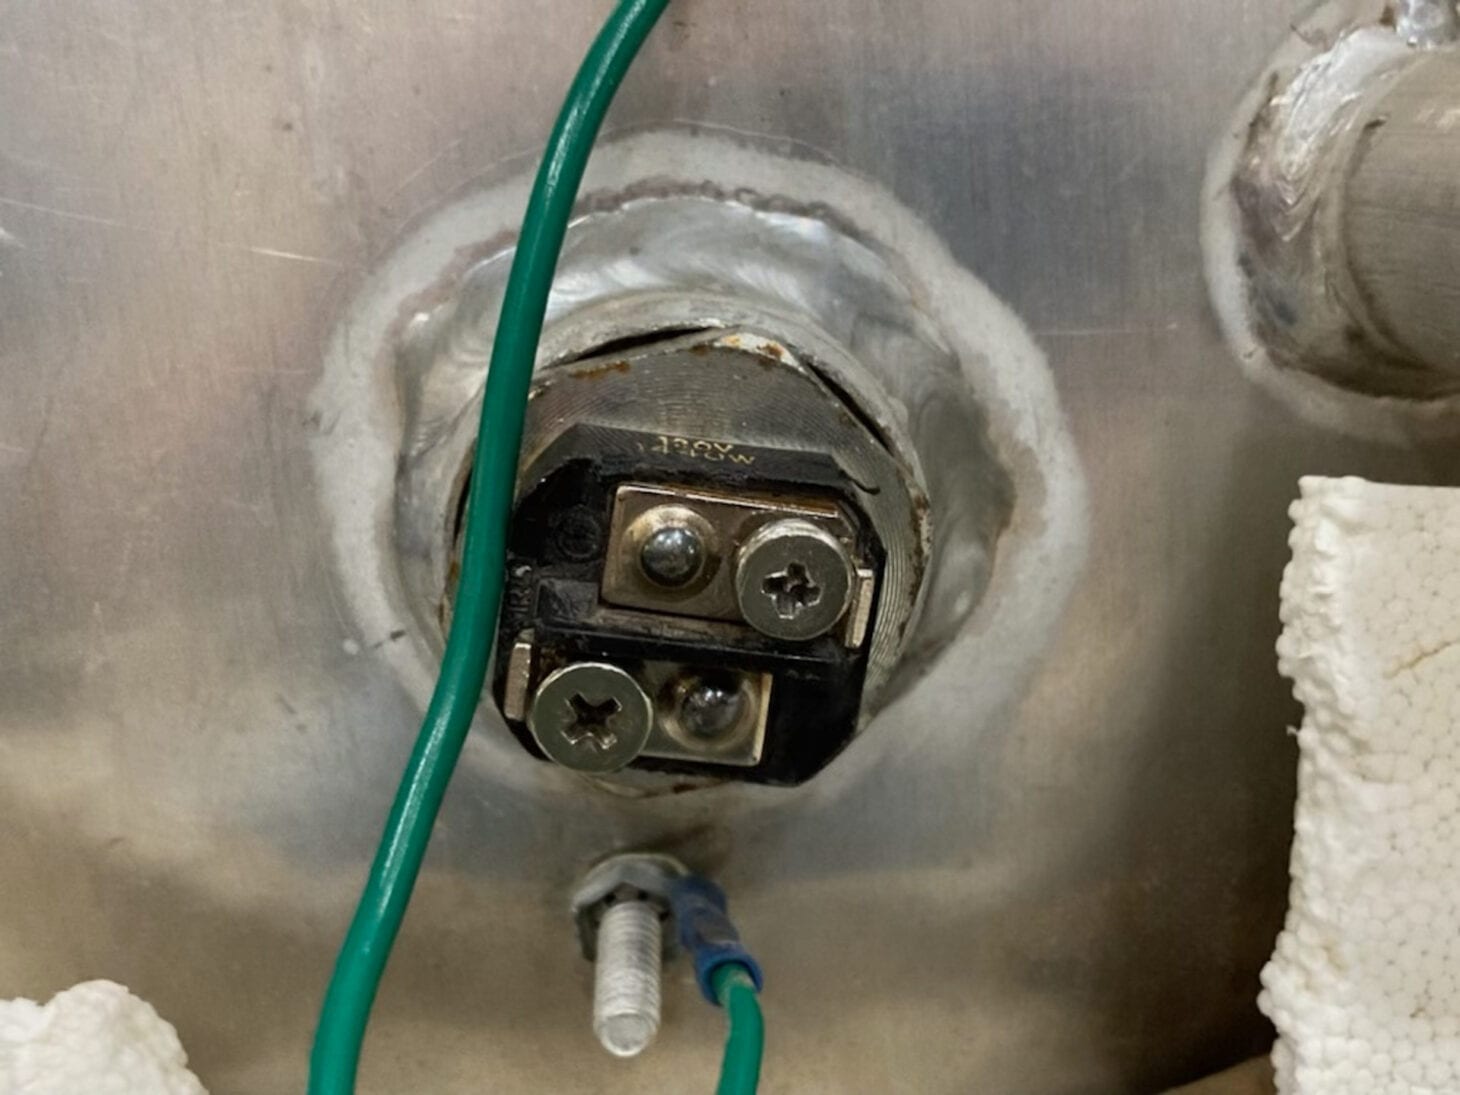
Inspect Heating Element
Is your RV water heater not working on electric? It might be a problem with the heating element. Inspecting the heating element is an essential step in diagnosing the issue. Follow these simple steps to inspect the heating element in your RV water heater. This can help you determine if it needs replacement or repair.
Remove Access Panel
First, locate the access panel of your RV water heater. This panel is usually found on the outside of the RV. Use a screwdriver to remove the screws holding the panel in place. Carefully set the panel aside. Inside, you will see the heating element and other components. Make sure the power is off before touching anything.
Test With Multimeter
Next, you need to test the heating element with a multimeter. This tool measures electrical resistance. Set the multimeter to the ohms setting. Touch the probes to the terminals of the heating element. A good element should show a reading between 10 and 20 ohms. If the reading is outside this range, the heating element may be faulty and need replacement.
Thermostat Troubleshooting
Having issues with your RV water heater not working on electric? Thermostat troubleshooting is a good place to start. The thermostat regulates the water temperature. If it’s not functioning, the heater won’t work efficiently. Let’s dive into the steps to troubleshoot your thermostat.
Access Thermostat
First, you need to access the thermostat. Locate the water heater in your RV. It’s typically near the bottom. Remove the cover panel to expose the internal components. You might need a screwdriver for this.
Be cautious as you access the thermostat. Make sure the power is off to avoid any electric shock. Look for the thermostat, which is often a small box with wires connected to it.
Adjust Temperature Settings
Once you have access, check the temperature settings on the thermostat. Most RV water heaters have adjustable thermostats. Use a small screwdriver to adjust the settings. Turn it to a higher temperature to see if it makes a difference.
If adjusting the temperature doesn’t work, it could be a faulty thermostat. In such cases, replacing the thermostat might be necessary. Always refer to the manufacturer’s manual for the correct settings.
Follow these steps carefully, and you might just get your RV water heater back in working order. If problems persist, seeking professional help is advisable.

Credit: liveworkdream.com
Resetting The System
If your RV water heater is not working on electric, you might need to reset it. Resetting the system can resolve many issues. It is a straightforward process, but you need to follow the steps carefully. Let’s go through the process together.
Locate Reset Button
First, find the reset button. It is usually located near the bottom of the water heater. You might need to remove a small cover to see it. The button is often red and labeled ‘Reset.’ Make sure the power is off before you proceed.
Follow Reset Procedure
Once you find the reset button, press it firmly. Hold it for a few seconds and then release. This simple action can restart the system. Wait a few minutes to see if the heater starts working.
If the heater does not work, repeat the process. Sometimes, it takes a few tries to reset completely. If the issue persists, consider checking other components or consulting a professional.
Replacing Faulty Parts
If your RV water heater is not working on electric, it might be due to faulty parts. Replacing these parts can restore the heater’s function. This guide will help you find the right components and install them correctly.
Buy Compatible Components
Identify the faulty part. It could be a heating element, a thermostat, or a fuse. Knowing the exact part will save you time and money.
Check the model number of your RV water heater. This ensures you buy parts that are compatible.
Look for trusted brands. Quality matters. Reliable brands offer parts that last longer. This reduces the need for frequent replacements.
Here is a simple table to help you with your shopping:
| Component | Brand | Model Compatibility |
|---|---|---|
| Heating Element | Camco | Atwood, Suburban |
| Thermostat | Suburban | All Suburban Models |
| Fuse | Bussmann | Universal |
Follow Installation Guide
Read the manual. Each part comes with a specific installation guide. Follow it step-by-step.
Turn off the power to the water heater. Safety first. Avoid electrical shock.
Remove the faulty part. Use the right tools. A screwdriver or a wrench might be needed.
Install the new part. Place it carefully. Ensure all connections are secure.
Test the heater. Turn the power back on. Check if the heater works on electric now.
If you face issues, refer to the troubleshooting guide in the manual or seek professional help.
Preventive Maintenance
Preventive maintenance can save you from unexpected issues with your RV water heater. Regular checks and cleaning ensure it works efficiently. This section focuses on how to prevent problems by keeping your water heater in top shape.
Regular Inspections
Regular inspections are key to maintaining your RV water heater. Check the heater for any signs of wear or damage. Look at the connections and wiring. Ensure there are no loose or frayed wires. Inspect the tank for any leaks or rust spots. These small checks can prevent bigger problems.
Cleaning Tips
Cleaning your RV water heater is crucial for its longevity. Start by turning off the power to the heater. Drain the tank to remove any sediment build-up. Use a hose to flush out any remaining debris. Clean the outside of the tank and the connections. This helps in keeping the heater free from dirt and grime.
Ensure the venting system is clear of obstructions. A blocked vent can cause the heater to overheat. Regular cleaning keeps the heater running efficiently and safely.
When To Call A Professional
Experiencing issues with your RV water heater not working on electric can be frustrating. Sometimes, the problem can be fixed with simple troubleshooting. But, other times, it’s best to call a professional. Knowing when to get expert help can save you time, money, and stress.
Persistent Issues
If your RV water heater is showing persistent issues, it’s time to call a professional. Some signs include:
- The water heater does not stay on.
- The water remains cold despite troubleshooting.
- You hear unusual noises from the heater.
These issues often indicate deeper problems. A professional can diagnose and fix these persistent problems efficiently.
Complex Electrical Problems
RV water heaters involve complex electrical components. If you notice any complex electrical problems, it’s safer to seek professional help. These include:
| Problem | Description |
|---|---|
| Tripped Breakers | The breaker trips repeatedly when the heater is on. |
| Burnt Wires | You see burnt or melted wires near the heater. |
| Electrical Sparks | Sparks or smoke coming from the heater. |
Attempting to fix these issues on your own can be dangerous. It’s best to let a professional handle the electrical repairs.
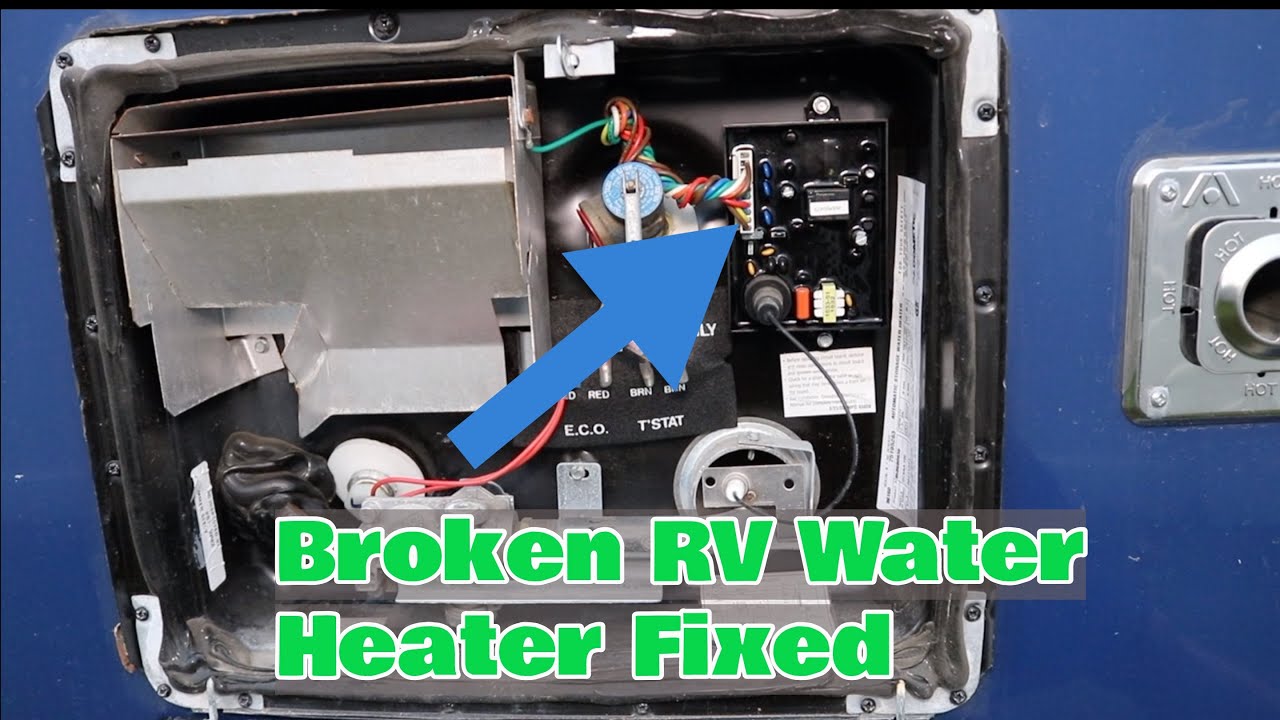
Credit: www.youtube.com
Frequently Asked Questions
Why Is My Rv Water Heater Not Working On Electric?
Your RV water heater might not be working due to a tripped circuit breaker, faulty heating element, or a malfunctioning thermostat.
How Do I Troubleshoot My Rv Water Heater?
To troubleshoot, check the power supply, inspect the heating element, and ensure the thermostat is functioning correctly.
Can A Blown Fuse Affect My Rv Water Heater?
Yes, a blown fuse can disrupt the electric supply to your RV water heater, causing it to stop working.
What Are Common Rv Water Heater Issues?
Common issues include tripped circuit breakers, faulty heating elements, and malfunctioning thermostats.
Conclusion
Fixing an RV water heater can seem overwhelming. Start with basic checks. Ensure the power supply is on. Inspect the heating element. Look at the thermostat. Simple steps might solve the issue. Always consult the manual. If problems persist, seek professional help.
Regular maintenance prevents many issues. Keep your RV water heater in top shape. Enjoy hot water on your travels. Happy camping!


