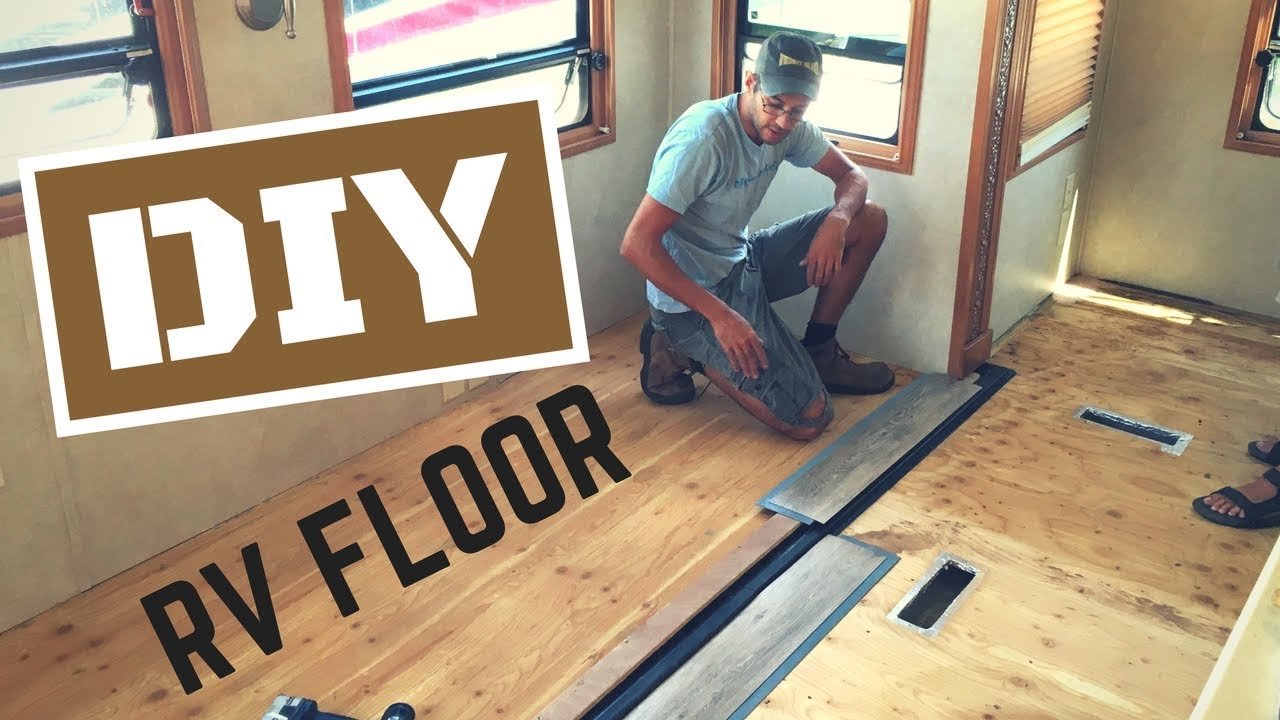
Replacing the flooring in an RV with a slide can seem challenging. It requires careful planning and the right materials.
RVs with slides offer extra space, making them cozy and functional. But over time, the flooring can wear out or get damaged. Replacing it can give your RV a fresh look and improve comfort. Whether you are dealing with carpet, vinyl, or laminate, the process can be rewarding.
This guide will walk you through the basics, helping you understand what to expect. You’ll learn about the tools needed, steps involved, and tips to make the job easier. Ready to give your RV’s interior a makeover? Let’s dive into the details of replacing flooring in an RV with a slide.

Credit: www.loveyourrv.com
Introduction To Rv Flooring Replacement
Replacing flooring in an RV with a slide can enhance comfort and appearance. Choose durable materials to withstand movement and weight. Ensure proper measurements for a precise fit.
Replacing the flooring in an RV with slide-outs requires careful planning. Quality flooring impacts the comfort and durability of your RV. It can transform the overall look and feel of your mobile home. This guide will explore the importance of quality flooring and the challenges that come with slide-outs.
Importance Of Quality Flooring
Quality flooring in an RV is crucial. It withstands heavy foot traffic and frequent movement. Good flooring provides insulation, which helps in regulating temperature. It also adds to the aesthetic appeal of your RV. Benefits of Quality Flooring:
- Durability
- Enhanced appearance
- Improved insulation
- Ease of cleaning
Choosing the right material is essential. Popular options include vinyl, laminate, and carpet tiles. Each material has its pros and cons.
Challenges With Slide-outs
Slide-outs add extra space but present unique challenges. The flooring needs to accommodate the movement of the slide. It must be flexible yet durable. Incorrect installation can lead to damage and wear. Common Issues with Slide-Outs:
- Misalignment
- Inconsistent flooring height
- Wear and tear at joints
- Difficulty in installation
Proper planning and professional help can mitigate these issues. Use flexible materials and ensure a smooth, even surface. “`
Choosing The Right Flooring Material
Replacing flooring in an RV with a slide can be a challenge. Choose durable, lightweight materials like vinyl or laminate. Ensure the flooring allows smooth slide-out operation.
Replacing the flooring in your RV with a slide-out can be a game-changer. The right flooring material will enhance comfort, aesthetics, and durability. But how do you choose the best one for your needs? Let’s explore the different options and their pros and cons.
Types Of Flooring Options
There are several flooring materials to choose from for your RV. Each has its own benefits and drawbacks. Here are some common options: – Vinyl – Laminate – Carpet – Tile
Pros And Cons Of Each Material
Vinyl: – Pros: Easy to clean, water-resistant, affordable. – Cons: Can be slippery, may look less upscale. Laminate: – Pros: Durable, easy to install, looks like real wood. – Cons: Not water-resistant, can be noisy underfoot. Carpet: – Pros: Comfortable, reduces noise, warm underfoot. – Cons: Hard to clean, can hold odors, not water-resistant. Tile: – Pros: Very durable, water-resistant, upscale appearance. – Cons: Heavy, can crack, needs professional installation. Choosing the right flooring material involves weighing these pros and cons. Consider your lifestyle, budget, and the specific needs of your RV. The perfect flooring will make your RV feel like a home away from home.
Preparing Your Rv For Flooring Replacement
Removing old flooring in an RV with a slide can be challenging. Ensure the slide is fully extended before starting. This will make the process smoother and prevent damage.
Replacing the flooring in your RV can give it a fresh look. Before starting, it is essential to prepare your RV properly. This ensures a smooth and efficient process. Preparation involves gathering the right tools and removing the old flooring. Let’s dive into these steps in detail.
Gathering Necessary Tools
Begin by gathering all the tools you will need. Common tools include a utility knife, pry bar, and hammer. You may also need a screwdriver, tape measure, and adhesive remover. Having these tools ready will save you time and effort. Double-check your list to ensure you have everything.
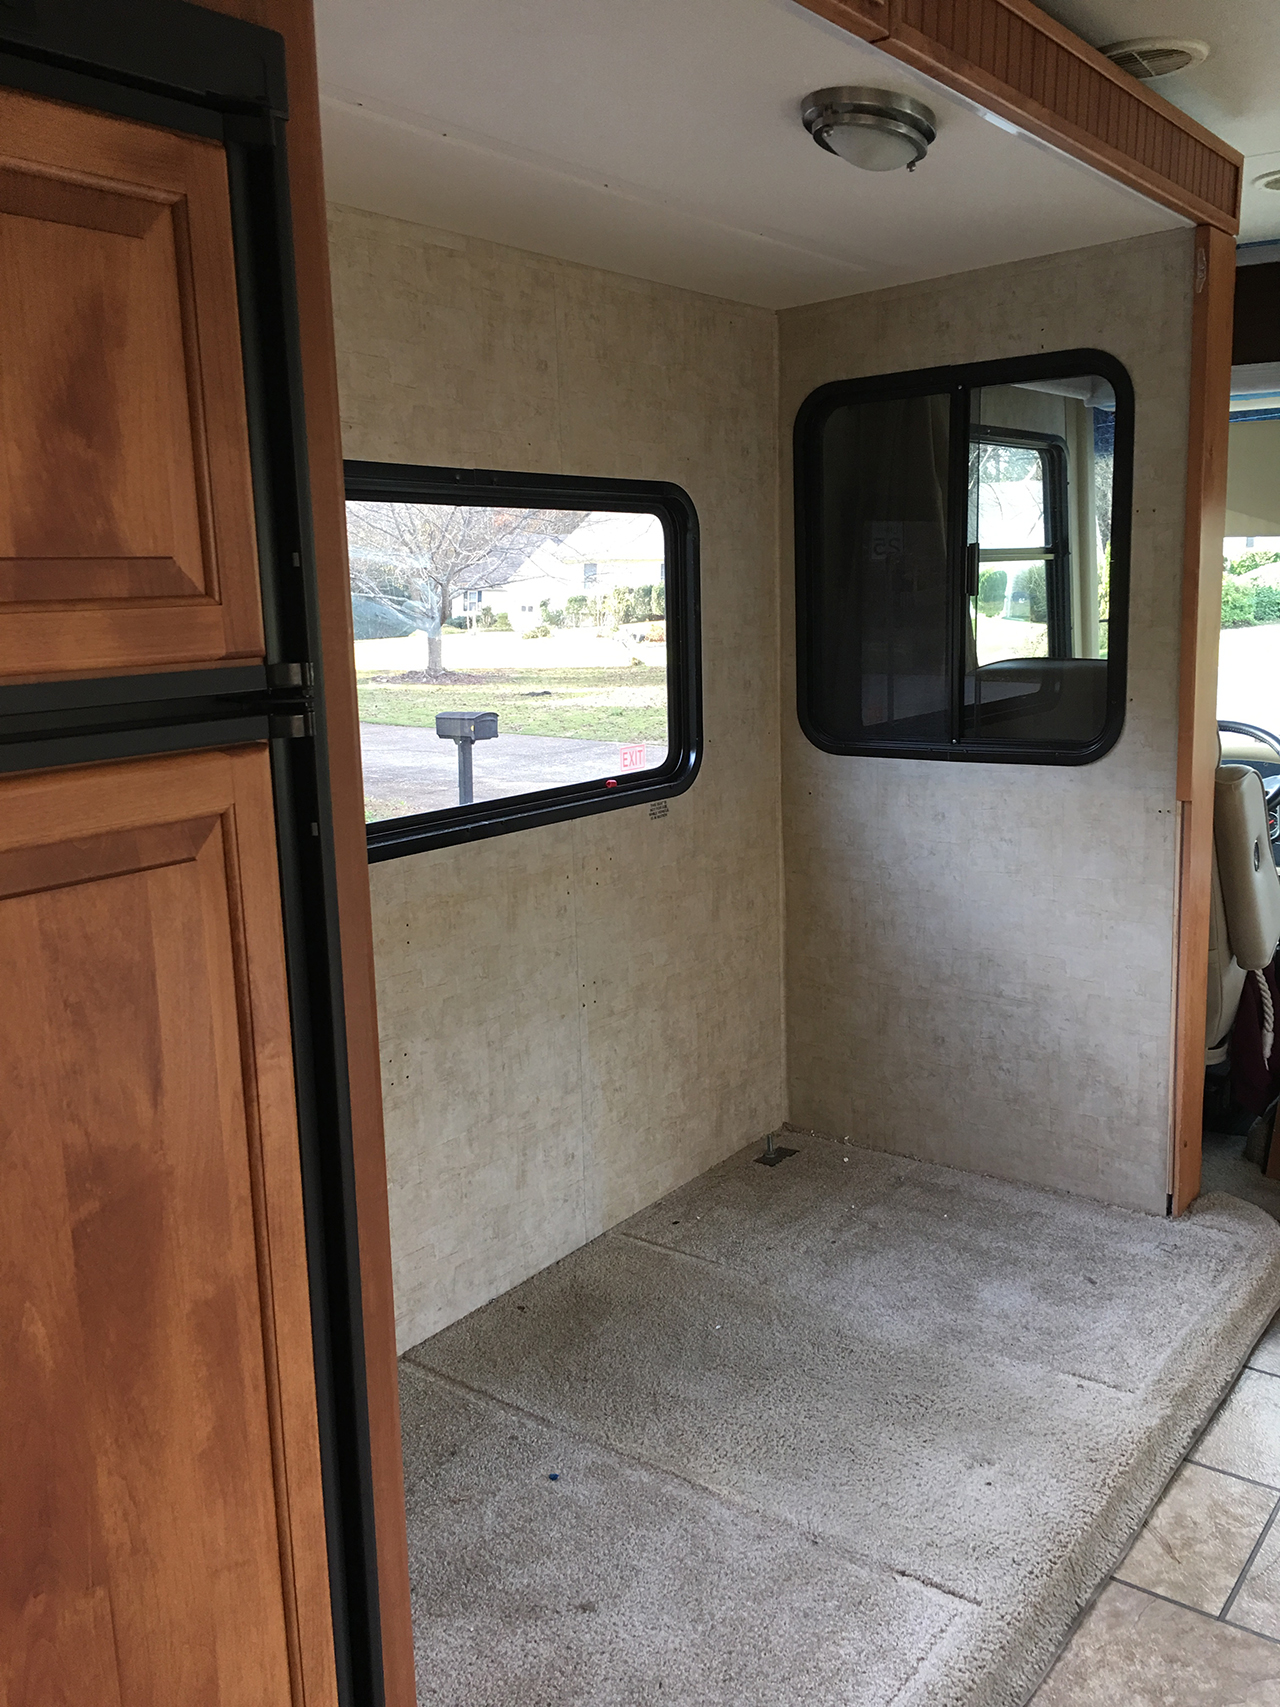
Removing Old Flooring
Start by carefully removing the old flooring. Use the utility knife to cut the flooring into manageable sections. This makes it easier to lift and remove. Next, use the pry bar and hammer to lift the edges. Be gentle to avoid damaging the subfloor. Remove any remaining adhesive with an adhesive remover. Clean the subfloor thoroughly before installing new flooring. “`
Dealing With Slide-out Sections
Replacing flooring in an RV is a big project. It gets more complicated with slide-out sections. These areas need special attention. You want your new flooring to look great. You also want it to work well with the slide-out mechanism. Let’s explore some important tips.
Special Considerations
Slide-out sections are tricky. First, measure the space accurately. This ensures you buy the right amount of flooring. Slide-outs move in and out. The flooring must handle this motion. Choose a durable material. Consider vinyl or laminate. These options are strong and flexible. They can withstand the movement of the slide-out.
Another point is the height of the new flooring. It should match the rest of the RV. This helps avoid tripping hazards. It also makes the slide-out move smoothly. Sometimes, you may need to trim the flooring. This helps it fit perfectly. Use a sharp knife or saw. Be careful and make precise cuts.
Slide-out Mechanism Handling
Handling the slide-out mechanism is crucial. Start by understanding how it works. Read the RV manual. It gives clear instructions. Before you begin, disconnect the power. This prevents accidents. You need to access the slide-out mechanism. Remove any coverings or panels. This gives you a clear view.
Ensure the new flooring does not interfere with the mechanism. Move the slide-out in and out a few times. Check for any issues. If the flooring catches, you may need to adjust it. Sometimes, adding a transition strip helps. This smooths out the movement. Secure the flooring well. Use strong adhesive or nails. This prevents it from coming loose.
Replacing flooring in an RV with slide-outs is challenging. But with care and attention, you can achieve great results. Your RV will have a fresh look and function smoothly.
Installing New Flooring
Replacing the flooring in your RV can give it a fresh new look. Installing new flooring in an RV with a slide can be challenging but rewarding. This section will guide you through the process step-by-step. You will also learn how to ensure the flooring fits securely.
Step-by-step Installation Guide
First, remove the old flooring. Start by taking out the furniture and other items. Use a utility knife to cut the old flooring into smaller sections. This will make it easier to pull up. After removing all the old pieces, clean the surface thoroughly. Make sure it is free of dirt and debris.
Next, measure the area where you will install the new flooring. Cut the new flooring to fit these measurements. Be precise to avoid any gaps or overlaps. Lay the new flooring pieces out to ensure they fit correctly before attaching them.
Once everything fits, start gluing or nailing the new flooring in place. Begin from one corner and work your way across the room. Press down firmly to make sure the flooring sticks well. Use a roller to smooth out any bubbles or wrinkles.
Ensuring A Secure Fit
To ensure a secure fit, check the edges and corners. Make sure there are no gaps. Use trim pieces to cover any small gaps along the walls. This will give a clean, finished look.
Check the slide area carefully. The flooring needs to move smoothly with the slide. Test the slide to make sure it does not catch on the new flooring. Adjust if needed to ensure smooth operation.
Finally, reinstall the furniture and other items. Place them carefully to avoid scratching the new floor. Enjoy the fresh look and feel of your RV with its new flooring.
Finishing Touches
After replacing the flooring in your RV with a slide, the final steps are crucial. These finishing touches will ensure your new floor looks polished and lasts longer. They also add a professional touch to your renovation project.
Trimming And Edging
Trimming and edging are important for a neat appearance. Install trim around the edges of the floor. This helps cover gaps and creates a seamless look. Choose trim that matches your new flooring. It can be wood, vinyl, or rubber. Use a miter saw to cut the trim at angles for perfect corners.
Secure the trim with finishing nails or adhesive. Make sure to press it firmly for a tight fit. Pay special attention to the areas around the slide-out. These areas often need flexible trim for smooth operation.
Sealing And Protecting
Sealing and protecting your new floor is the next step. A good sealant will guard against moisture and stains. It also makes cleaning easier. Select a sealant that is suitable for your floor type. Follow the manufacturer’s instructions for the best results.
Apply the sealant evenly with a brush or roller. Allow it to dry completely before using the RV. This step not only protects the floor but also enhances its appearance. Regular maintenance will keep your floor looking new for years.
Maintaining Your New Rv Flooring
Replacing the flooring in your RV with a slide-out can be a significant upgrade. To keep your new flooring looking its best, regular maintenance is essential. Here are some practical tips for maintaining your RV flooring to ensure it lasts for years.
Regular Cleaning Tips
Keeping your new RV flooring clean is crucial. Dust, dirt, and debris can cause damage over time. Follow these tips for regular cleaning:
- Sweep the floor daily with a soft-bristle broom.
- Vacuum the floor weekly using a vacuum with a soft brush attachment.
- Mop the floor with a damp mop once a week. Use a mild cleaner suitable for your flooring type.
- Avoid using excessive water to prevent damage to the flooring material.
| Cleaning Task | Frequency |
|---|---|
| Sweeping | Daily |
| Vacuuming | Weekly |
| Mopping | Weekly |
Repairing Minor Damages
Minor damages can occur even with the best care. Here’s how to handle them:
- Scratches: Use a floor repair kit to fill in scratches. Follow the instructions provided with the kit.
- Dents: Place a damp cloth over the dent and use an iron on medium heat to lift it.
- Stains: Treat stains immediately. Blot the area with a damp cloth and use a mild cleaner if needed.
- Gaps: Use wood filler or a matching caulk to fill gaps between floor planks.
By regularly cleaning and promptly repairing any minor damages, you can ensure your RV flooring remains in top condition.
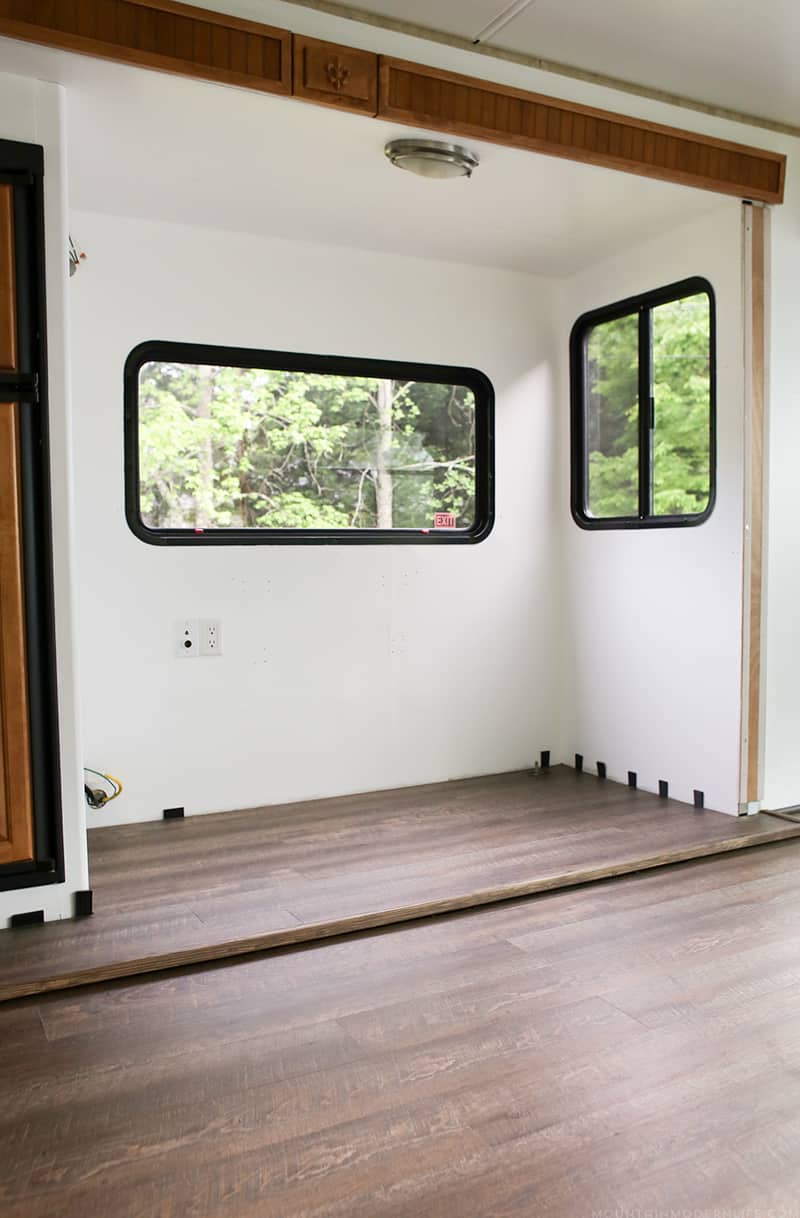
Credit: mountainmodernlife.com
Common Mistakes To Avoid
Replacing the flooring in an RV with a slide can be a great way to refresh the look of your mobile home. But many people make common mistakes that can lead to problems. Avoiding these mistakes can save you time and money.
Improper Measurements
Measure the floor space precisely. Even small errors can cause big problems. Always double-check your measurements. Use a tape measure and write down the numbers. Measure both length and width. Don’t forget to include any angles or corners. This ensures you buy the right amount of flooring material.
Neglecting Slide-out Areas
Slide-out areas need special attention. They move in and out, so the flooring must handle this motion. Check the slide-out mechanism. Make sure the new flooring won’t block it. Use flexible flooring materials in these areas. This prevents damage to the floor and the slide mechanism.
Cost Considerations
Replacing the flooring in an RV with a slide can transform the space. It can give it a fresh look and feel. But, it’s important to consider the cost involved. This section will help you understand the key cost factors.
Budgeting For Materials
The cost of materials will vary. You need to choose between vinyl, laminate, or hardwood. Each has its price range. Vinyl is often the cheapest. Laminate is mid-range. Hardwood is usually the most expensive. Measure your RV space accurately. Buy a little extra material. This covers any mistakes or future repairs.
Hiring Professionals Vs. Diy
Decide if you will hire professionals or do it yourself. Hiring professionals can save time. They have the right tools. They also have the experience. But, it can be expensive. Doing it yourself saves money. It can be a rewarding project. But, it requires effort and some skill. Consider your budget and ability before making a choice.
Credit: mountainmodernlife.com
Conclusion And Final Tips
Consider the type of flooring that best suits your RV’s needs. Follow installation instructions carefully for a smooth finish. Regular maintenance will ensure your new flooring lasts longer.
Replacing the flooring in your RV with a slide is an exciting project. It can increase both the value and comfort of your mobile home. Ensuring you finish the job properly is key. Here are some final tips to help you complete your flooring replacement.
Ensuring Longevity
To make sure your new flooring lasts, proper installation is crucial. Follow the manufacturer’s instructions closely. Choose high-quality materials that can withstand the wear and tear of RV life. Consider using a moisture barrier under the new floor. This will protect against any potential water damage. Regular maintenance is also important. Clean the floor often and check for any signs of damage.
| Task | Frequency |
|---|---|
| Cleaning | Weekly |
| Inspect for Damage | Monthly |
| Apply Sealant | Yearly |
Maximizing Comfort And Aesthetics
An RV is your home on wheels. Comfort and aesthetics are essential. Choose a flooring material that feels good underfoot. Soft materials like vinyl or cork can add extra comfort. Color and design matter too. Light colors can make small spaces feel bigger. Patterns can add a touch of personality. Don’t forget about the slide area. Ensure the floor there matches the rest of the RV. Invest in good underlayment. This can add extra cushioning and help with insulation. It can also reduce noise, making your RV more peaceful.
- Choose soft, comfortable materials.
- Pick colors that make spaces feel bigger.
- Ensure the slide area matches.
- Invest in good underlayment.
Frequently Asked Questions
How To Replace Rv Flooring With A Slide?
Replacing RV flooring with a slide involves removing old flooring and installing new material. Ensure compatibility with the slide-out mechanism.
What Tools Are Needed For Rv Flooring Replacement?
You will need a utility knife, pry bar, measuring tape, adhesive, and a saw. These tools will make the job easier.
Can I Use Vinyl Flooring In An Rv?
Yes, vinyl flooring is a great option for RVs. It is durable, water-resistant, and easy to clean.
How Long Does Rv Flooring Replacement Take?
The time varies depending on the RV size and your experience. Typically, it takes one to three days.
Conclusion
Replacing flooring in your RV with a slide is a smart choice. It enhances comfort and style. Easy maintenance and durability are key benefits. With the right tools, the process is straightforward. New flooring can transform your RV experience. You’ll enjoy a fresh, clean look.
Make sure to choose the best materials. Research and planning are essential. Your RV will feel more like home. Embrace the change and enjoy your travels. Happy renovating!


