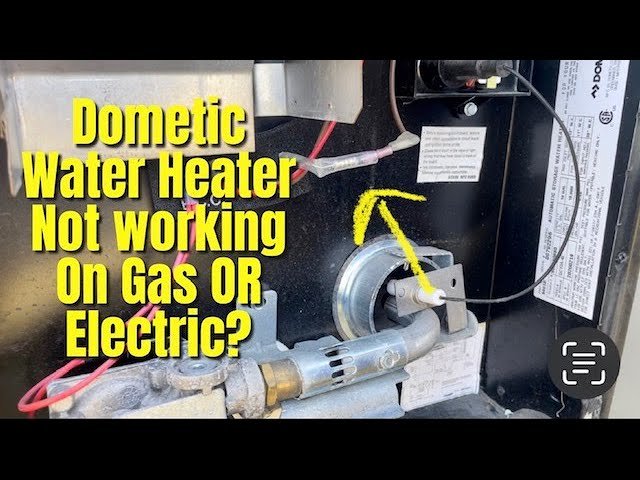
Is your RV electric water heater not working? This can be frustrating, especially on the road.
When your RV water heater fails, it disrupts your comfort. No hot water means cold showers and dishwashing troubles. But don’t worry, help is here. Understanding the common issues and their solutions can save you time and money. Your RV water heater might have electrical issues, thermostat problems, or even a burnt-out element.
This guide will walk you through diagnosing and fixing the problem step-by-step. By the end, you’ll know how to get your water heater back in working order. Let’s dive in and solve this issue together.
Credit: roadtrippers.com
Common Issues
Dealing with an RV electric water heater not working can be frustrating. Identifying common issues helps in troubleshooting and fixing the problem. Here are some common problems you may encounter.
No Hot Water
If your RV water heater produces no hot water, check the power supply. Ensure the heater is plugged in and the breaker is not tripped. A blown fuse might also be the culprit. Check and replace any blown fuses.
Another issue could be the heating element. Over time, it can wear out and stop functioning. Inspect the heating element and replace it if necessary. Also, check the thermostat. If it is faulty, it won’t send the right signals to heat the water.
Water Temperature Fluctuations
Water temperature fluctuations can make showers uncomfortable. The thermostat might be the issue. A malfunctioning thermostat can cause inconsistent water temperatures. Replace or recalibrate the thermostat to fix this problem.
Another reason could be sediment buildup. Sediment can accumulate inside the tank, affecting water temperature. Regularly flush the tank to remove sediment. This helps maintain a consistent water temperature.
Credit: www.youtube.com
Initial Checks
Experiencing issues with your RV electric water heater? Start with some initial checks. These can help determine the root cause of the problem. Conducting these checks yourself can save time and money.
Power Supply
First, ensure the water heater is receiving power. Check the power cord for any damage. Ensure it is securely plugged in. A loose or damaged cord can prevent the water heater from working.
You can use a multimeter to test the outlet. Ensure it is providing the correct voltage. If the outlet is not working, the water heater will not receive power.
If you have a generator, ensure it is running properly. The generator should supply power to the water heater. Check the generator’s fuel level and operation status.
Circuit Breaker
Locate the circuit breaker panel in your RV. Look for the breaker labeled “Water Heater.” Ensure the breaker is in the “On” position.
If the breaker has tripped, reset it by switching it off and then back on. A tripped breaker can indicate an overload or short circuit. If it trips again, there might be a deeper electrical issue.
Check for any signs of burnt or damaged wires around the breaker panel. Burnt wires can cause the breaker to trip and stop the water heater from working.
| Check | Action |
|---|---|
| Power Cord | Inspect for damage, ensure secure connection |
| Outlet Voltage | Use a multimeter to check voltage |
| Generator | Ensure proper operation and fuel level |
| Circuit Breaker | Reset if tripped, check for damage |
Thermostat Problems
If your RV electric water heater is not working, the thermostat might be the issue. The thermostat controls the water temperature. When it malfunctions, the water heater cannot heat water properly. This section will guide you through testing and replacing the thermostat.
Testing The Thermostat
Begin by turning off the power to the water heater. Safety first. Remove the access panel to reach the thermostat. Use a multimeter to check for continuity. Set the multimeter to the lowest ohms setting. Place one probe on the thermostat’s terminal and the other on the ground. A reading of zero or near zero shows the thermostat is working. If you get no reading, the thermostat is faulty.
Replacing The Thermostat
If the thermostat is faulty, replacement is necessary. Start by purchasing a compatible thermostat. Turn off the power supply again for safety. Remove the faulty thermostat by disconnecting the wires. Install the new thermostat by connecting the wires as per the manual. Secure the thermostat in place. Turn the power back on and test the water heater. The new thermostat should solve the heating issue.
Heating Element Issues
Heating element issues can disrupt the hot water supply in your RV. A malfunctioning heating element often leads to cold showers and discomfort. This section will guide you through identifying and resolving heating element problems. Follow these steps to check for continuity and replace the heating element if needed.
Checking For Continuity
First, gather a multimeter to test the heating element. Ensure the RV is unplugged to avoid electric shock. Locate the water heater and remove the access panel. Find the heating element terminals and disconnect the wires.
Set the multimeter to the lowest ohms setting. Place the probes on the heating element terminals. A reading between 10-30 ohms indicates a functioning element. If the reading is zero or infinite, the element is faulty.
Replacing The Heating Element
Before starting, ensure the RV is still unplugged. Drain the water heater by opening the drain valve. Use a wrench to remove the faulty heating element. Purchase a compatible replacement from an RV supply store.
Install the new element by threading it into the water heater. Tighten it with a wrench, ensuring a snug fit. Reconnect the wires to the terminals. Close the access panel and refill the water heater. Plug in the RV and test the water heater.
Following these steps can restore hot water in your RV. Regular maintenance can prevent future issues and ensure a comfortable RV experience.
Sediment Buildup
Sediment buildup in your RV electric water heater can lead to significant issues. It reduces heating efficiency and can cause malfunctions. Over time, minerals and debris settle at the bottom of the tank. This sediment can block the heating element and create insulation layers, making it harder for the heater to function properly.
Flushing The Tank
Flushing the tank regularly is crucial to remove sediment buildup. Follow these steps:
- Turn off the power supply to the water heater.
- Connect a hose to the drain valve at the bottom of the tank.
- Place the other end of the hose in a safe drainage area.
- Open the drain valve and allow the water to flow out.
- Once drained, close the valve and disconnect the hose.
- Refill the tank with clean water and turn the power back on.
Regular flushing helps maintain heater efficiency and prolongs its lifespan.
Preventing Future Buildup
Preventing future sediment buildup is essential for your water heater’s longevity. Here are some tips:
- Use a water softener to reduce mineral deposits.
- Install a sediment filter to trap particles before they enter the tank.
- Drain a few gallons of water from the tank monthly.
- Schedule professional maintenance at least once a year.
These preventive measures can help keep your water heater running efficiently.
Credit: johnmarucci.com
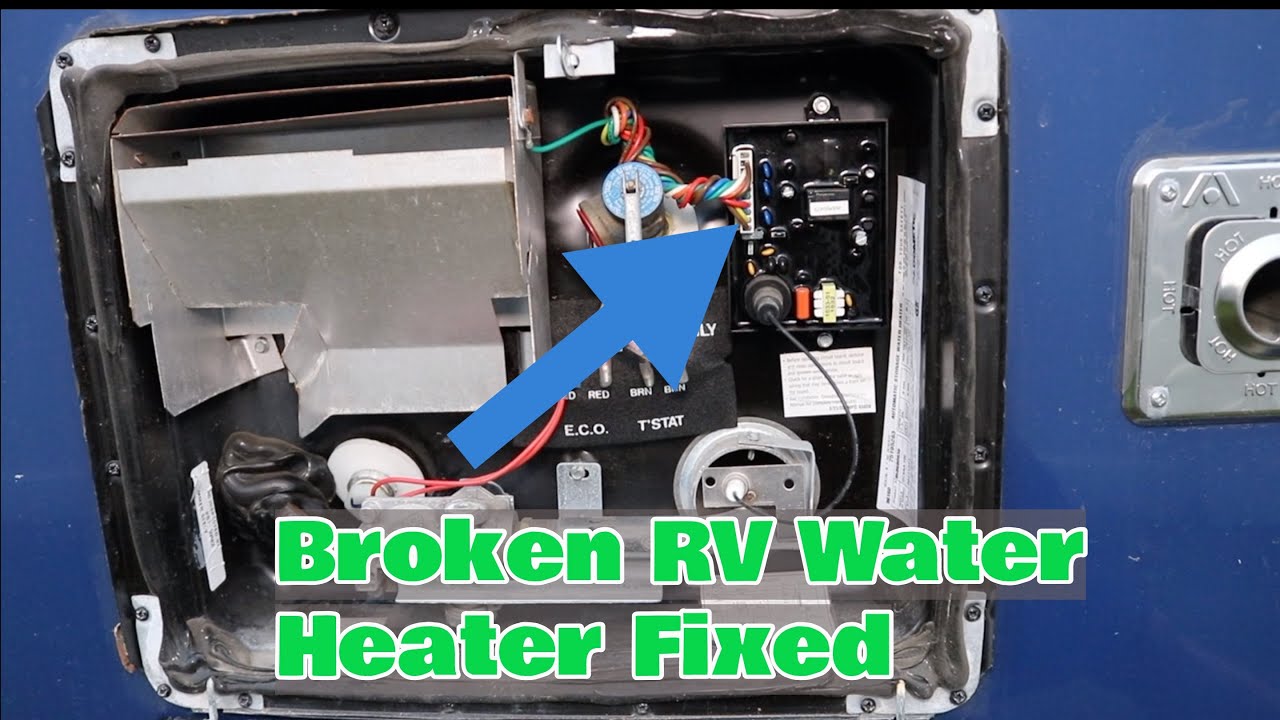
Electrical Connections
Electrical connections are vital for the proper functioning of your RV electric water heater. Faulty or loose connections can cause the heater to stop working. Maintaining these connections ensures your water heater runs smoothly and efficiently.
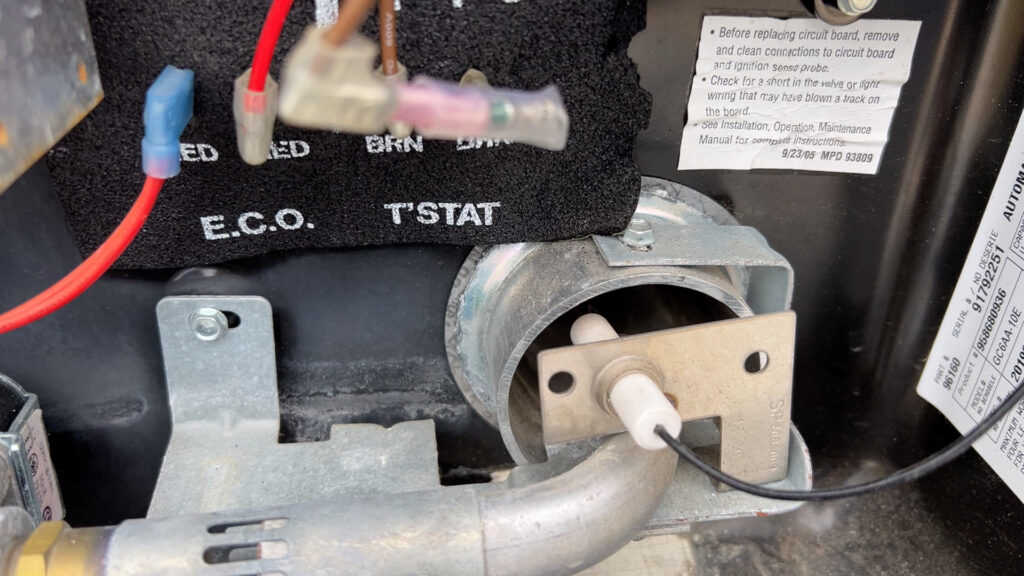
Inspecting Wiring
Begin by turning off the power supply to your water heater. Safety first. Open the access panel to inspect the wiring. Look for any signs of damage. Check for frayed or burnt wires. Damaged wiring can interrupt the power flow. This can prevent the heater from working. If you find damaged wires, they will need replacing.
Securing Loose Connections
Loose connections can also cause issues with your water heater. Tighten any loose screws or connectors. Ensure all wires are securely connected. A loose connection can cause intermittent power loss. This can lead to the heater malfunctioning. After securing connections, double-check your work. Make sure every connection is tight and secure.
Once you have inspected and secured all connections, restore power to the heater. Check if the water heater is now functioning correctly. Proper maintenance of electrical connections can prevent many common issues.
Pressure Relief Valve
The pressure relief valve is a crucial component of your RV electric water heater. It ensures the system does not become over-pressurized, which could lead to dangerous situations. This valve releases water if the pressure inside the tank gets too high. Understanding how to test and replace this valve can save you from potential hazards.
Testing The Valve
Begin by turning off the power to your water heater. Locate the pressure relief valve on the top or side of the tank. Place a bucket under the valve to catch any water. Lift the lever on the valve to release some pressure. If water flows freely and then stops, the valve is working. If it drips constantly, the valve may be faulty.
Replacing The Valve
If your valve is faulty, you need to replace it. Turn off the water supply to the heater. Drain the tank to below the level of the valve. Use a wrench to unscrew the old valve. Clean the threads on the tank opening before installing the new valve. Apply Teflon tape to the threads of the new valve. Screw the new valve into the tank and tighten it with a wrench. Turn the water supply back on and check for leaks.
Professional Help
When your RV electric water heater stops working, it can be frustrating. You may try simple fixes yourself. But sometimes you need professional help. A technician can diagnose and fix issues you can’t handle. Seeking expert help ensures your water heater works safely and efficiently.
When To Call A Technician
If your RV electric water heater shows no signs of life, call a technician. This could mean the heating element is faulty. Strange noises or leaks also need expert attention. You should not ignore these signs. Delays can lead to bigger problems. If you smell burning or see smoke, turn off the heater and call a professional immediately. Safety first.
Finding Reliable Service
Finding a reliable technician can seem tough. Start by asking fellow RV owners for recommendations. Check online reviews for service providers in your area. Look for technicians with good ratings and positive feedback. Verify their credentials. Make sure they have experience with RV electric water heaters. This ensures they know what they are doing.
Contact a few service providers. Ask about their availability and pricing. Ensure they offer a warranty on their work. A good technician stands by their service. Don’t settle for the cheapest option. Quality service may cost more but offers peace of mind. Your RV’s electric water heater is vital. Choose wisely.
Frequently Asked Questions
Why Is My Rv Water Heater Not Heating?
There could be various reasons your RV electric water heater isn’t heating. Common issues include tripped circuit breakers, faulty thermostats, or heating elements. Check for any visible damage or burnt marks. Always ensure your RV is properly plugged into a power source.
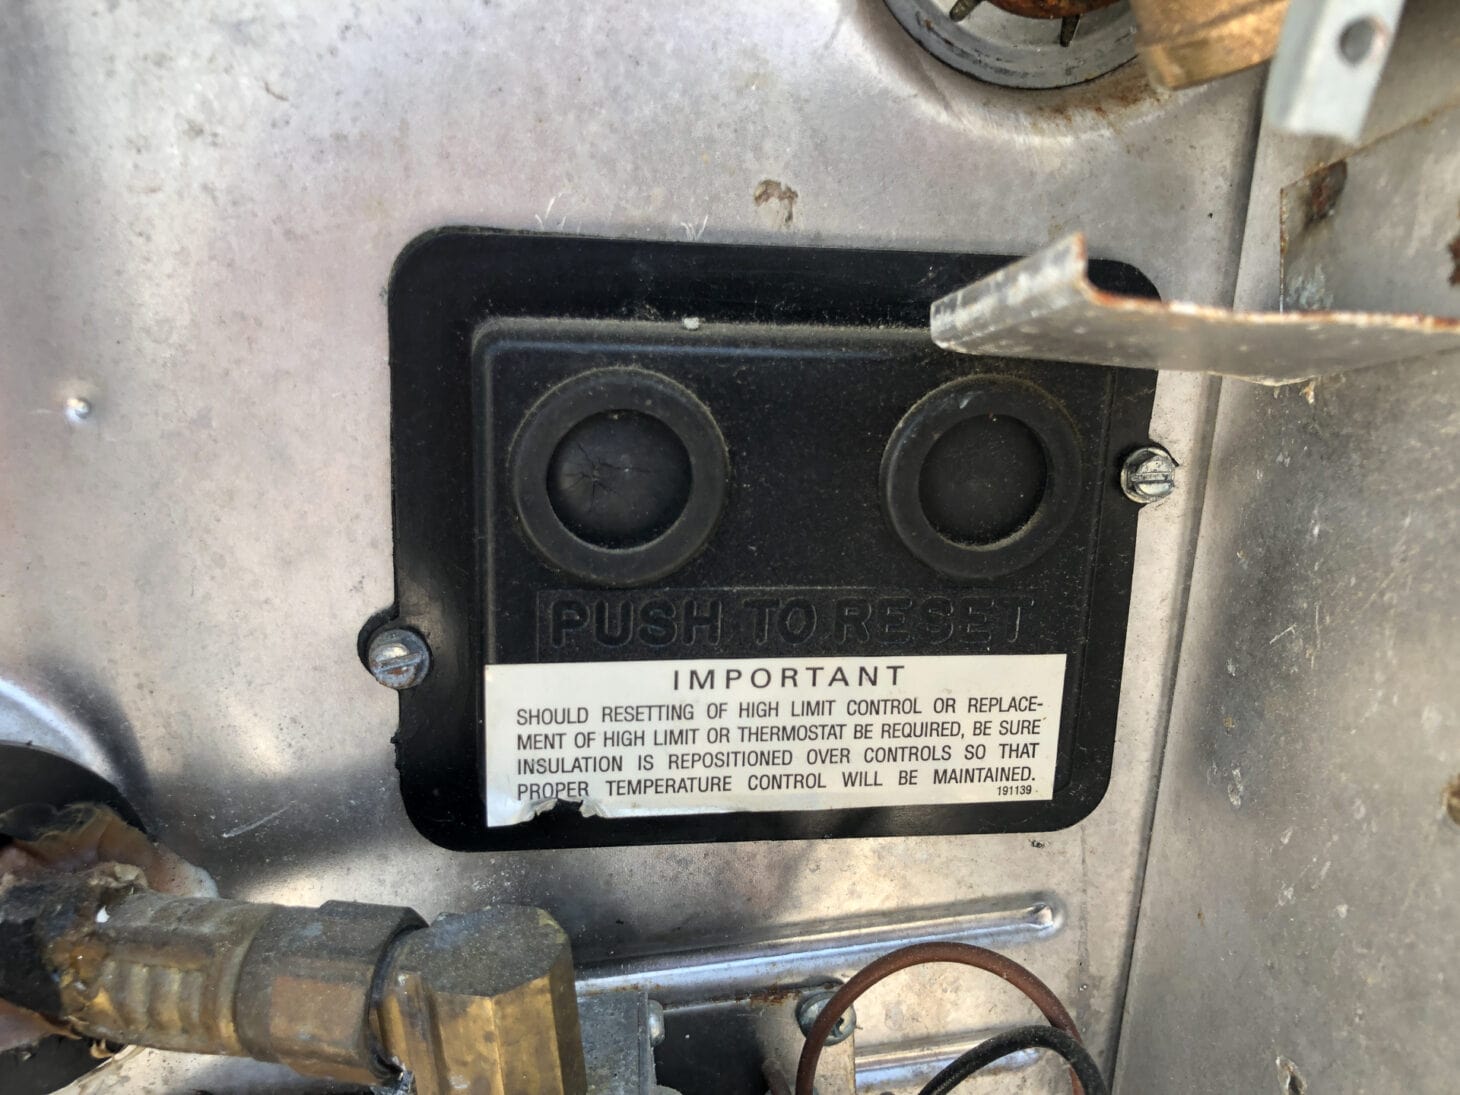
How Do I Reset My Rv Electric Water Heater?
To reset your RV electric water heater, locate the reset button on the unit. It is usually red and can be found near the thermostat. Press it firmly until you hear a click. This should reset the heater.
What Are Common Rv Water Heater Problems?
Common RV water heater problems include faulty heating elements, tripped breakers, or issues with the thermostat. Additionally, sediment buildup in the tank can affect performance. Regular maintenance can help prevent these issues.
How Do I Troubleshoot My Rv Water Heater?
To troubleshoot your RV water heater, first check the power supply. Ensure the circuit breaker isn’t tripped. Inspect the thermostat and heating elements for damage. Refer to the manufacturer’s manual for specific troubleshooting steps.
Conclusion
Fixing your RV electric water heater can be simple. Check power connections first. Inspect the heating element next. If issues persist, consider thermostat problems. Regular maintenance helps avoid future headaches. Simple checks save time and stress. Stay proactive with your RV water heater.
Happy travels!


