Got a leaky RV water heater? It’s a common issue many RV owners face.
If your RV water heater is leaking from the relief valve, don’t worry. This problem can often be fixed with some basic knowledge and tools. RV water heaters are essential for comfort during your trips. A leaking relief valve can cause concern, but understanding the root causes can help.
In this blog, we’ll explore why your RV water heater might leak from the relief valve and how to address it. Whether it’s a pressure problem, a faulty valve, or something else, we’ll guide you through the steps to fix it. Stay with us to keep your RV’s water heater in top shape, ensuring a smooth and enjoyable journey.
Identifying The Problem
Dealing with an RV water heater leaking from the relief valve can be frustrating. Knowing how to identify the problem is crucial. Early detection can save you from bigger issues down the road. Let’s break down the symptoms and common causes of a leak.
Symptoms Of A Leak
- Water pooling around the heater
- Dripping water from the relief valve
- Hissing sounds near the heater
- Fluctuating water pressure
- Moisture or mold around the area
Common Causes
| Cause | Description |
|---|---|
| High Water Pressure | Excess pressure forces water out of the relief valve. |
| Faulty Valve | The valve may be damaged or defective. |
| Overheating | Heater temperature too high causes the valve to release water. |
| Sediment Buildup | Debris inside the heater can cause pressure issues. |
| Loose Connections | Loose fittings can lead to leaks around the valve. |
Safety Precautions
Dealing with a leaking RV water heater relief valve can be stressful. Safety precautions are crucial to prevent accidents and further damage. Follow these simple steps to ensure your safety and the proper functioning of your RV water heater.
Turn Off Water Supply
First, locate the main water supply valve. It’s usually near the water heater. Turn it off completely to stop the water flow.
- Ensure no more water enters the heater.
- This prevents flooding and reduces pressure.
Check the valve twice to ensure it’s fully closed. This step is essential for your safety.
Shut Down Power
Next, you need to shut down the power to the water heater. For electric heaters, locate the circuit breaker. Switch it off.
- For propane heaters, turn off the gas supply.
- This prevents potential fire hazards.
Double-check that the power is indeed off before proceeding. Safety first!
Following these safety precautions helps prevent accidents. It also ensures that you can address the leaking issue effectively.
Tools Needed
Fixing a leaking RV water heater relief valve is crucial for safety and comfort. To get the job done right, you’ll need the right tools. Below is a list of essential and optional tools that can help you fix the problem efficiently.
Essential Tools
- Adjustable Wrench: Needed to loosen and tighten the relief valve.
- Pipe Wrench: Useful for gripping and turning pipes securely.
- Plumber’s Tape: Ensures a watertight seal around the valve threads.
- Bucket: Helps catch any water that may leak during the repair.
- Safety Gloves: Protects your hands from sharp edges and hot water.
Optional Tools
- Pressure Gauge: Helps you monitor the water pressure accurately.
- Pipe Cutter: Useful if you need to cut and replace pipes.
- Flashlight: Helps you see clearly in dimly lit areas of the RV.
- Plumber’s Putty: Provides an extra layer of sealing if needed.
- Rags or Towels: Handy for wiping up any spills and keeping the area dry.
Step-by-step Guide
Dealing with a leaky RV water heater relief valve can be frustrating. But, with the right steps, you can fix it yourself. This step-by-step guide will help you inspect and clean the relief valve. Follow the instructions below to get your RV water heater working properly again.
Relief Valve Inspection
First, turn off the power to the water heater. This ensures your safety. Let the water cool down. Then, locate the relief valve. It is usually on the top or side of the heater. Check for visible signs of damage.
Next, open the valve to release any built-up pressure. Use a bucket to catch the water. If the valve is stuck, it might be the cause of the leak. Inspect the valve for any debris or mineral buildup. This can block the valve and cause leaks.
If you see any cracks or damage, the valve needs replacement. Take note of the valve type for a proper replacement. If the valve looks fine, proceed to the cleaning step.
Cleaning The Valve
Begin by turning off the water supply. This prevents more water from entering the heater. Open a hot water faucet to relieve any remaining pressure. Use a wrench to remove the relief valve.
Clean the valve using a mixture of vinegar and water. Soak the valve in the solution for 30 minutes. This helps dissolve any mineral deposits. Use a brush to scrub off any remaining debris.
Rinse the valve thoroughly with clean water. Inspect it one more time for any damage. If it looks good, reinstall the valve. Turn the water supply back on and check for leaks. If the valve still leaks, replacement is necessary.
By following these steps, you can fix a leaking RV water heater relief valve. Regular maintenance can prevent future issues. Keep an eye on your water heater to ensure it stays in good condition.
Replacing The Relief Valve
If your RV water heater is leaking from the relief valve, it may be time to replace the valve. This task may seem daunting, but with a bit of guidance, you can do it yourself. Below is a step-by-step guide on how to replace the relief valve in your RV water heater.
Removing The Old Valve
First, ensure the water heater is turned off. Allow it to cool completely. Safety first.
Next, gather the necessary tools. You will need a wrench, Teflon tape, and a new relief valve.
- Turn off the water supply to the heater.
- Release the pressure by opening a hot water faucet.
- Using the wrench, carefully unscrew the old relief valve.
- Remove any old Teflon tape from the threads.
Installing The New Valve
Now, it’s time to install the new valve. This step is crucial for preventing leaks.
- Wrap the threads of the new valve with fresh Teflon tape.
- Carefully screw the new valve into place using the wrench.
- Ensure it is tight, but do not over-tighten.
- Turn the water supply back on and check for leaks.
If you don’t see any leaks, you have successfully replaced the relief valve. A new relief valve ensures your RV water heater operates safely and efficiently.

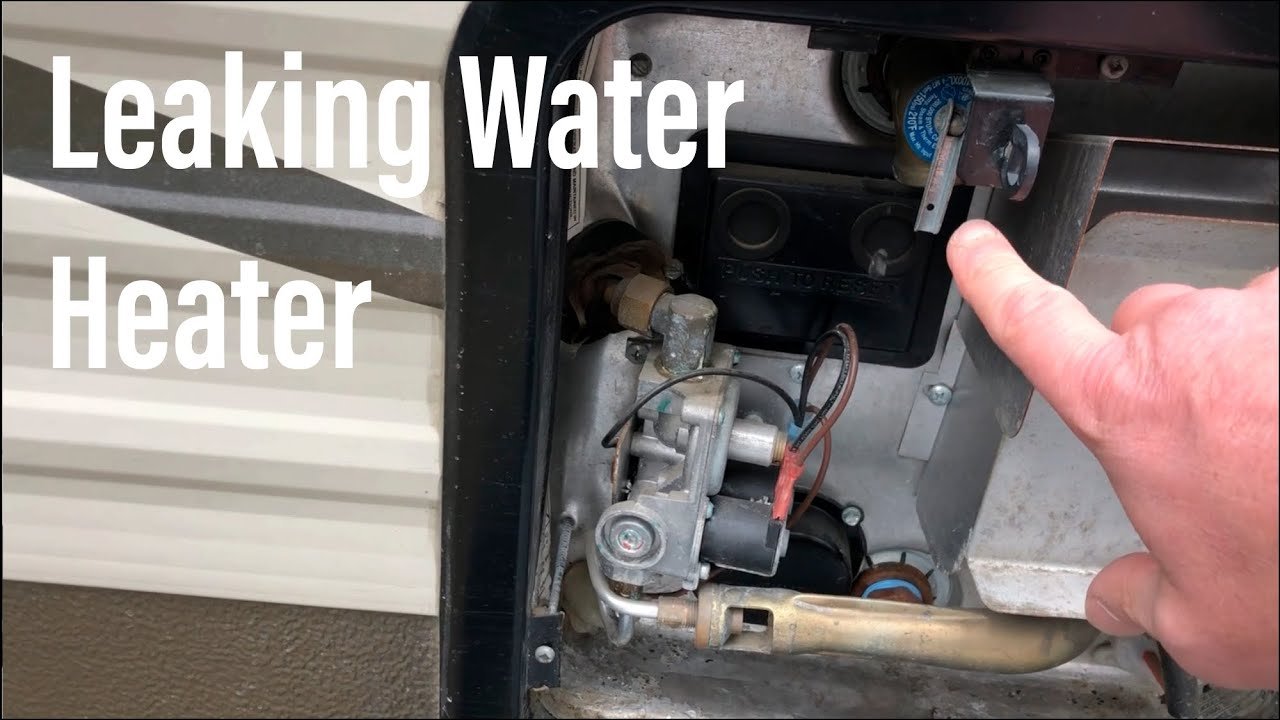
Credit: www.youtube.com
Testing The Fix
Once you’ve completed the repair on your RV water heater’s relief valve, it’s essential to test the fix. This process ensures everything works correctly and your leak issue is resolved. Follow these steps to restore the water supply and check for any further leaks.
Restoring Water Supply
Start by turning the water supply back on. This step is crucial to see if the repair holds under normal conditions. Here’s how to do it:
- Locate the main water valve in your RV.
- Slowly turn the valve to the open position.
- Allow the water to flow into the heater and wait a few minutes.
Check the water pressure and ensure it’s stable. It’s important to allow the water to fill the heater completely before moving on to the next step.
Checking For Leaks
With the water supply restored, the next step is to check for any leaks. Follow these steps to ensure the repair is successful:
- Inspect the area around the relief valve for any signs of water.
- Use a dry cloth to wipe around the valve and check for moisture.
- Observe the valve for a few minutes to ensure no leaks appear.
If you notice any leaks, tighten the valve slightly and check again. If the leak persists, you may need to repeat the repair process or seek professional help.
Testing the fix is essential to ensure your RV water heater operates efficiently. Proper inspection and attention to detail can prevent future issues and provide peace of mind.
Maintenance Tips
Maintaining your RV water heater is essential for preventing leaks from the relief valve. Regular checks and preventive measures can save you from costly repairs. Here are some maintenance tips to keep your RV water heater in top shape.
Regular Inspections
Frequent inspections can help you spot issues early. Check the relief valve at least once a month. Look for signs of leaks or corrosion. Ensure the valve is not blocked or stuck. Use a flashlight to inspect hard-to-see areas.
Use this table to keep track of your inspections:
| Inspection Date | Observations | Action Taken |
|---|---|---|
| 01/01/2023 | No leaks, valve clean | None |
| 01/02/2023 | Minor corrosion | Cleaned valve |
Preventive Measures
Preventive measures can reduce the risk of leaks. Follow these steps:
- Drain the water heater regularly to remove sediment.
- Test the relief valve to ensure it opens and closes properly.
- Replace the valve if it shows signs of wear.
Keep the area around the heater clean and dry. Ensure proper ventilation to avoid moisture buildup.
By taking these simple steps, you can extend the life of your RV water heater. Keep a maintenance schedule and stick to it.
When To Seek Professional Help
A leaking RV water heater relief valve often indicates a serious problem. Seek professional help if you notice continuous dripping or water pooling. Quick action can prevent further damage.
Sometimes, fixing a leaking RV water heater relief valve isn’t simple. While you can handle minor issues, some situations need expert help. Knowing when to call a professional can save you time and frustration.
Persistent Issues
If the leaking doesn’t stop after basic troubleshooting, it may signal a bigger problem. Persistent leaks could mean internal damage or faulty parts. These issues need a trained eye to diagnose and fix. Another sign of persistent issues is fluctuating water temperature. Inconsistent heating can stress the system, causing leaks. Professionals can identify the root cause and offer lasting solutions.
Complex Repairs
Some repairs require specialized tools and knowledge. For example, replacing the entire relief valve or fixing internal components. These tasks are complex and can be risky for beginners. Attempting complex repairs without experience can lead to more damage. Professionals have the right tools and skills to handle these repairs safely. In cases where the water heater is old, it might need a complete replacement. Experts can assess whether a repair or replacement is more cost-effective. They can also recommend the best options for your RV. By seeking professional help for persistent issues and complex repairs, you ensure your RV water heater functions correctly. This proactive approach helps you avoid bigger problems down the line. “`

Credit: www.rvnetwork.com
Frequently Asked Questions
Why Is My Rv Water Heater Relief Valve Leaking?
A leaking relief valve often indicates excessive pressure or temperature. It can also be due to a faulty valve. Regular maintenance can help prevent this issue.
How Do I Fix A Leaking Relief Valve?
First, ensure the system pressure and temperature are within safe limits. If the valve is faulty, replace it. Consult your RV’s manual for specific instructions.
Is It Dangerous If The Relief Valve Leaks?
Yes, a leaking relief valve can be dangerous. It can indicate high pressure or temperature, which could damage your water heater or cause burns.
Can I Prevent My Rv Water Heater Valve From Leaking?
Regular maintenance and monitoring pressure and temperature levels help prevent leaks. Ensure the valve is in good working condition and replace it if necessary.
Conclusion
Fixing a leaking RV water heater relief valve can seem daunting. But it is manageable with the right steps. Regular maintenance helps prevent such issues. Check the valve regularly. Replace it if needed. Always ensure connections are tight. This prevents leaks.
A properly functioning water heater means worry-free trips. Enjoy your RV adventures with peace of mind.


