Sealing RV windows for winter keeps the cold out. It ensures warmth and comfort.
Cold drafts can make your RV uncomfortable. Proper sealing is essential for a cozy winter. Winterizing your RV involves several steps, and sealing windows is crucial. Cold air can seep through gaps, making it hard to stay warm. This not only affects comfort but also increases heating costs.
By sealing the windows, you create a barrier against the cold. This helps maintain a pleasant temperature inside. Plus, it can prevent potential water damage from snow and ice. In this guide, we’ll explore the best methods to seal RV windows. This will keep your RV snug and energy-efficient all winter long.
Importance Of Sealing Rv Windows
Sealing RV windows for winter is crucial. It maintains comfort inside your RV. Properly sealed windows help save energy and prevent damage. Unsealed windows can lead to many problems during the cold months.
Preventing Heat Loss
One of the most critical reasons to seal RV windows is to prevent heat loss. In winter, keeping the interior warm is challenging. Sealed windows keep the warm air inside, reducing the need for extra heating.
Heat loss through windows is a common issue. Here are some benefits of preventing heat loss:
- Lower heating costs
- Improved comfort
- Efficient energy use
Avoiding Moisture Buildup
Sealing RV windows also helps avoid moisture buildup. Moisture can cause many problems, including mold and mildew. These can damage your RV and pose health risks.
Here are some key points about avoiding moisture buildup:
- Sealed windows prevent condensation.
- No condensation means no mold growth.
- Dry interiors are more comfortable and safer.
Use proper sealing techniques to keep your RV in top condition during winter. This ensures a safe and comfortable living environment.
Credit: www.motionwindows.com
Essential Tools And Materials
Sealing your RV windows for winter is crucial. It helps keep out cold air and moisture. To do this job right, you need the right tools and materials. Here, we will discuss the essential items you need.
Sealant Options
Choosing the right sealant is important. Different types of sealants work for different windows. Here are some options:
- Silicone Sealant: Good for most RV windows. It is flexible and waterproof.
- Polyurethane Sealant: Strong and long-lasting. Ideal for larger gaps.
- Butyl Tape: Easy to use and very sticky. Best for flat surfaces.
- Acrylic Latex Caulk: Paintable and easy to clean. Not as strong as silicone.
Necessary Equipment
To seal your RV windows, you need more than just sealant. Here is a list of necessary equipment:
- Caulking Gun: Helps apply sealant smoothly.
- Utility Knife: Cuts old sealant and butyl tape.
- Putty Knife: Removes old sealant from window edges.
- Rags: Cleans window surfaces before sealing.
- Masking Tape: Keeps sealant lines neat and tidy.
Having the right tools makes sealing RV windows easier. Gather all items before starting the project. This ensures you have everything you need.
Preparing The Rv Windows
Sealing your RV windows for winter is crucial to prevent drafts and moisture. Proper preparation makes the sealing process more effective and ensures long-lasting results. This section will guide you through the essential steps to prepare your RV windows.
Cleaning The Surface
First, clean the window surface thoroughly. Use a mild detergent mixed with water. Scrub the window frame and glass to remove dirt and grime. Rinse with clean water and dry the area with a soft cloth. A clean surface ensures the sealant adheres properly.
Removing Old Sealant
Next, remove any old sealant. Use a plastic scraper to avoid scratching the window frame. Gently scrape away the old sealant. If the sealant is stubborn, apply a sealant remover. Follow the instructions on the remover for best results. Wipe the area clean and dry before applying new sealant.
Applying New Sealant
Sealing your RV windows for winter is crucial to prevent drafts and water leaks. Applying new sealant is a key step in this process. Let’s dive into how to do it effectively.
Choosing The Right Sealant
Picking the right sealant is essential. There are various types available, but not all are suitable for RV windows. Silicone-based sealants are popular due to their flexibility and durability. Polyurethane sealants are another great choice, known for their strong adhesive properties and longevity.
| Type of Sealant | Properties |
|---|---|
| Silicone-based | Flexible, durable, waterproof |
| Polyurethane | Strong adhesion, long-lasting, weather-resistant |
Step-by-step Application
Follow these steps to apply the new sealant correctly:
- Clean the Area: Remove old sealant and clean the window edges. Use a scraper and alcohol-based cleaner.
- Prepare the Sealant: Cut the nozzle of the sealant tube at a 45-degree angle. This helps in applying a smooth, even bead.
- Apply the Sealant: Squeeze the sealant tube gently. Apply a continuous bead along the edges of the window.
- Smooth the Bead: Use a damp finger or a sealant tool to smooth the bead. This ensures a tight seal.
- Let it Cure: Allow the sealant to dry as per the manufacturer’s instructions. This usually takes 24-48 hours.
By following these steps, you can ensure that your RV windows are well-sealed and ready for winter. This prevents drafts and water leaks, keeping your RV cozy and dry.
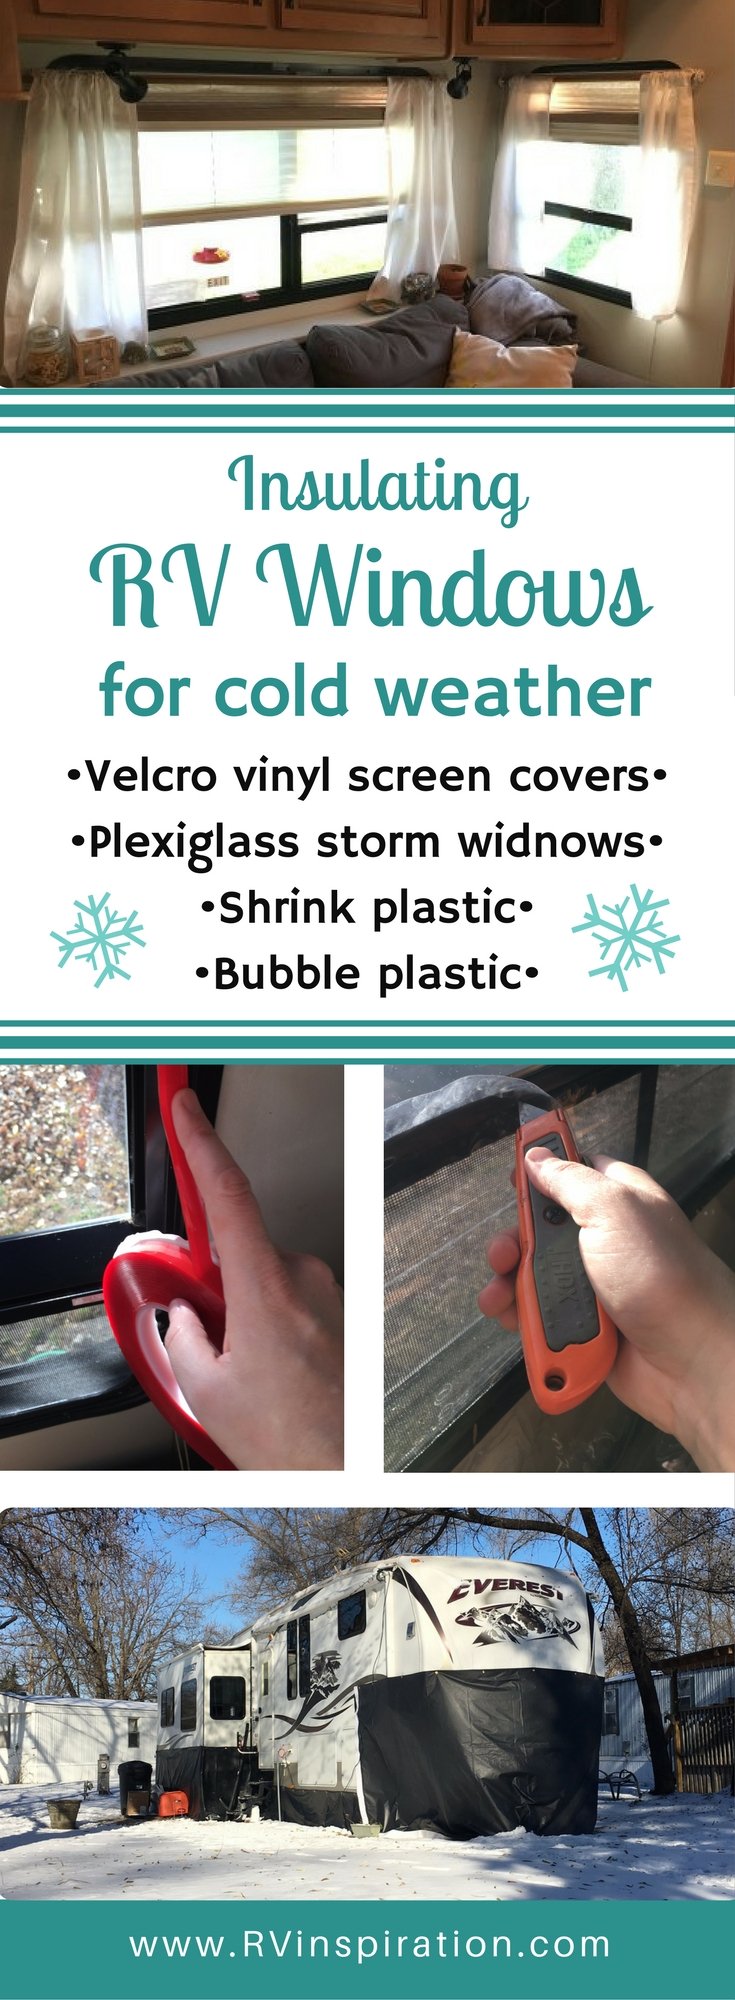
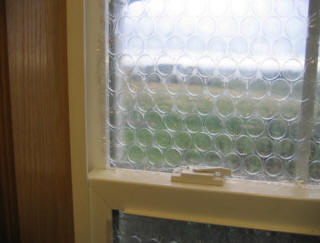
Insulating Rv Windows
Insulating RV windows for winter is crucial. It helps maintain a warm interior. Cold drafts can make your RV uncomfortable. Proper insulation reduces heating costs. Two effective methods are using window insulation film and adding thermal curtains.
Using Window Insulation Film
Window insulation film is easy to apply. Start by cleaning the window surface. Make sure it’s free of dust and grime. Cut the film to the size of your window. Use double-sided tape to attach the film. Smooth out any bubbles with a credit card. This creates a barrier against the cold. It’s a simple and affordable solution.
Adding Thermal Curtains
Thermal curtains provide extra insulation. They are thicker than regular curtains. Hang them close to the window. This traps heat inside. Choose curtains with a thermal lining. They block drafts effectively. Close the curtains at night for better results. During the day, open them to let in sunlight. This adds warmth naturally.

Credit: www.amazon.com
Checking For Drafts
Sealing your RV windows for winter starts with checking for drafts. This step ensures that no cold air enters your RV through small gaps. Identifying these drafts early helps in maintaining a warm and comfortable interior.
Using A Draft Detector
A draft detector is a handy tool to find leaks around your RV windows. You can use a simple smoke pen or an incense stick. Hold the smoke near the window edges. Watch for any movement in the smoke. Movement indicates a draft.
Another method is the candle test. Light a candle and move it around the window frame. If the flame flickers, you have found a draft.
Addressing Found Drafts
Once you find a draft, mark the spot. Use weatherstripping or caulking to seal these gaps. Weatherstripping is ideal for movable parts of the window. Caulking works best for fixed parts.
Ensure you apply these materials carefully. Follow the instructions on the product packaging. This will help you achieve the best seal possible. After sealing, test the windows again to ensure no drafts remain.
Maintaining Sealed Windows
Maintaining sealed windows is crucial for the winter months. Properly sealed windows keep cold air out and warm air in. This helps maintain a comfortable temperature inside your RV. It also prevents moisture buildup and potential damage. Regular maintenance ensures the seals remain effective throughout the season.
Regular Inspections
Inspect your RV windows regularly. Look for any cracks or gaps in the seals. Use a flashlight to spot tiny openings. Pay close attention to the corners and edges. These areas are more prone to wear and tear. If you find any damage, repair it immediately. This prevents further deterioration and keeps your RV insulated.
| Inspection Task | Frequency |
|---|---|
| Check for cracks and gaps | Monthly |
| Examine corners and edges | Monthly |
| Use a flashlight for tiny openings | Monthly |
Seasonal Reapplications
Reapply sealant at the start of each season. Use a high-quality sealant designed for RV windows. Follow the manufacturer’s instructions for the best results. Apply the sealant evenly around the window frame. Make sure to cover all gaps and cracks. Allow the sealant to dry completely before using the window.
- Choose the right sealant for your RV windows.
- Clean the window frame thoroughly.
- Apply the sealant evenly around the frame.
- Cover all gaps and cracks.
- Let the sealant dry completely.
Regular maintenance and seasonal reapplications keep your RV windows sealed. This ensures a warm and cozy environment inside your RV during winter.

Credit: www.rvwithtito.com
Additional Winterizing Tips
Winterizing your RV is crucial to avoid damage during cold months. After sealing the windows, focus on other areas. This ensures your RV stays in top condition all winter long.
Protecting Rv Plumbing
Water can freeze and cause pipes to burst. Drain all water lines and tanks. Use RV antifreeze to protect the system. Pour antifreeze into drains to prevent trapped water from freezing. Insulate exposed pipes with foam or heat tape.
Insulating The Rv Exterior
Insulation keeps the cold out and warmth in. Use insulated window covers to reduce drafts. Seal gaps around doors and vents with weather stripping. Cover the RV with a breathable cover to protect it from snow. Ensure roof vents and skylights are sealed properly.
Frequently Asked Questions
How Do You Prepare Rv Windows For Winter?
To prepare RV windows for winter, clean them thoroughly. Apply a protective sealant or weatherstripping to prevent drafts. Use insulating window film or thermal curtains for added warmth.
What Sealant Is Best For Rv Windows?
Silicone or polyurethane sealants are best for RV windows. They provide a strong, weather-resistant seal. Ensure the sealant is suitable for outdoor use and flexible to withstand temperature changes.
Can You Use Caulk To Seal Rv Windows?
Yes, you can use caulk to seal RV windows. Choose an exterior-grade caulk for durability. Apply it evenly around the window edges to prevent leaks and drafts.
How Often Should You Reseal Rv Windows?
Reseal RV windows annually or whenever you notice leaks. Regular inspection helps maintain a secure seal. Promptly address any issues to prevent water damage and improve insulation.
Conclusion
Sealing RV windows for winter ensures warmth and comfort. Follow the steps mentioned to avoid drafts and leaks. Use quality materials for the best results. Regular maintenance helps extend the life of your seals. Enjoy a cozy, winter-ready RV and safe travels.
Proper sealing keeps the cold out and the warmth in. Don’t let winter catch you unprepared. Take action now, and your RV will thank you. Stay warm, stay safe, and happy camping!


